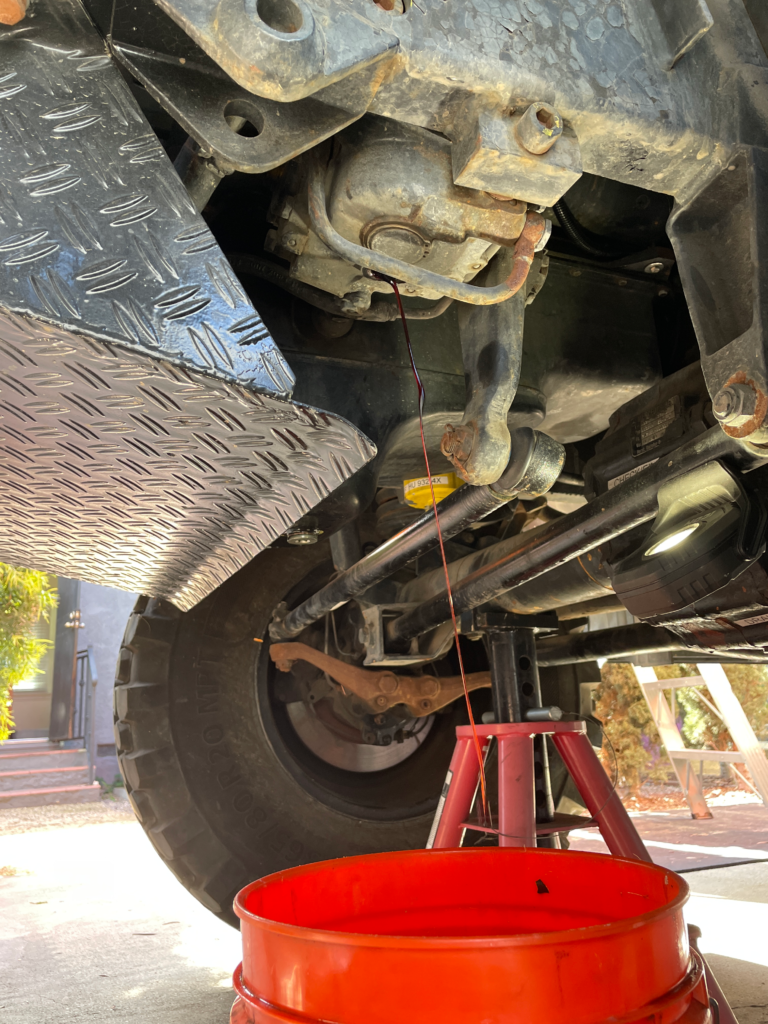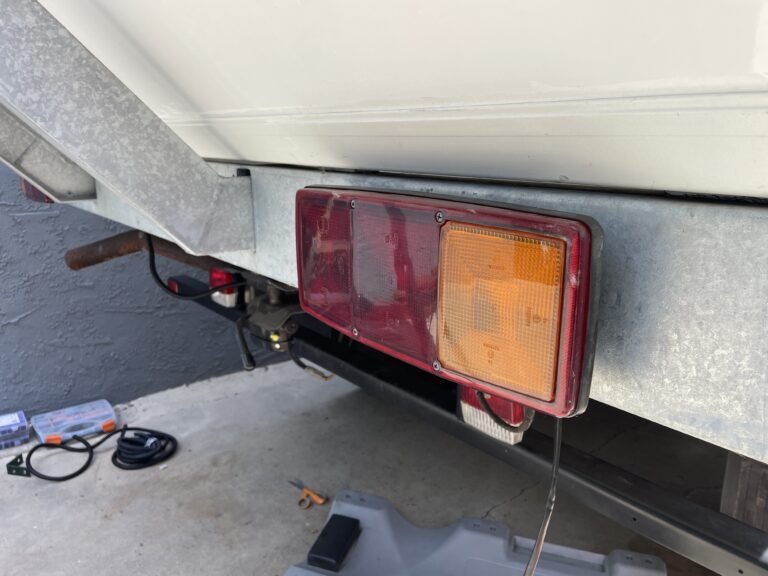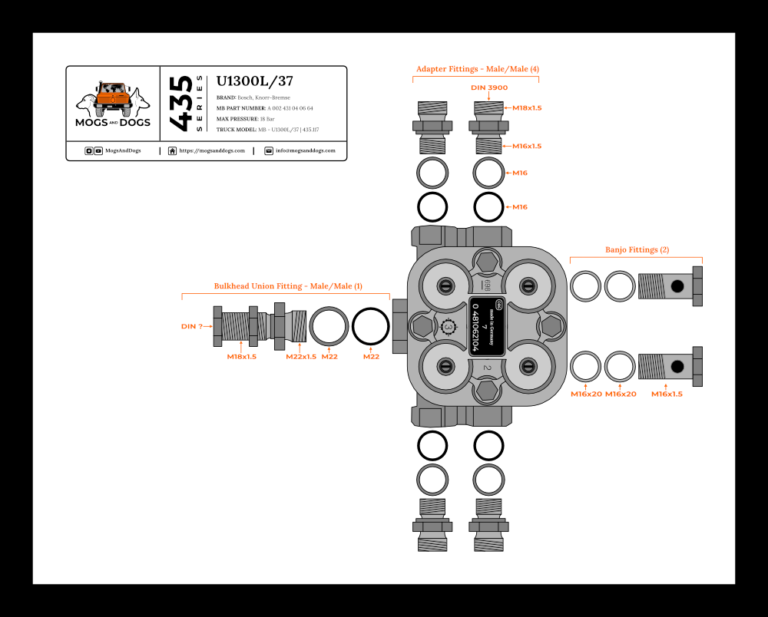

Engine water pump replacement

This was a really big project by my standards, it started as a fairly simple project that kept growing. The project itself took at least two months, and then editing this video took a week. I am really glad I did it though, because now I have a much better understanding of how my engine works, which is a top goal of mine. I still don’t enjoy wrenching per se, but at least I will be competent enough to fix some things on the road.
There is a good Benzworld discussion here. Everyone was very helpful any time I ran into a problem and I sincerely thank them for taking the time.
Note: If you do watch the video or already have, I am sorry about the sound. That mic just doesn’t work well in that setting – it picks up a ton of stuff in the background. Once it is recorded though, there is not a whole lot I can do. I have to crank up the gain so you can understand what I am saying but then the background noise gets crazy loud. It often sounds like I am working at an airport, on the side of the freeway, or at a mass casualty incident. Maybe someday I will learn how to use the audio features in my software better. For now though, I have purchased a set of DJI wireless lapel mics, so hopefully that will help in the future.
New parts
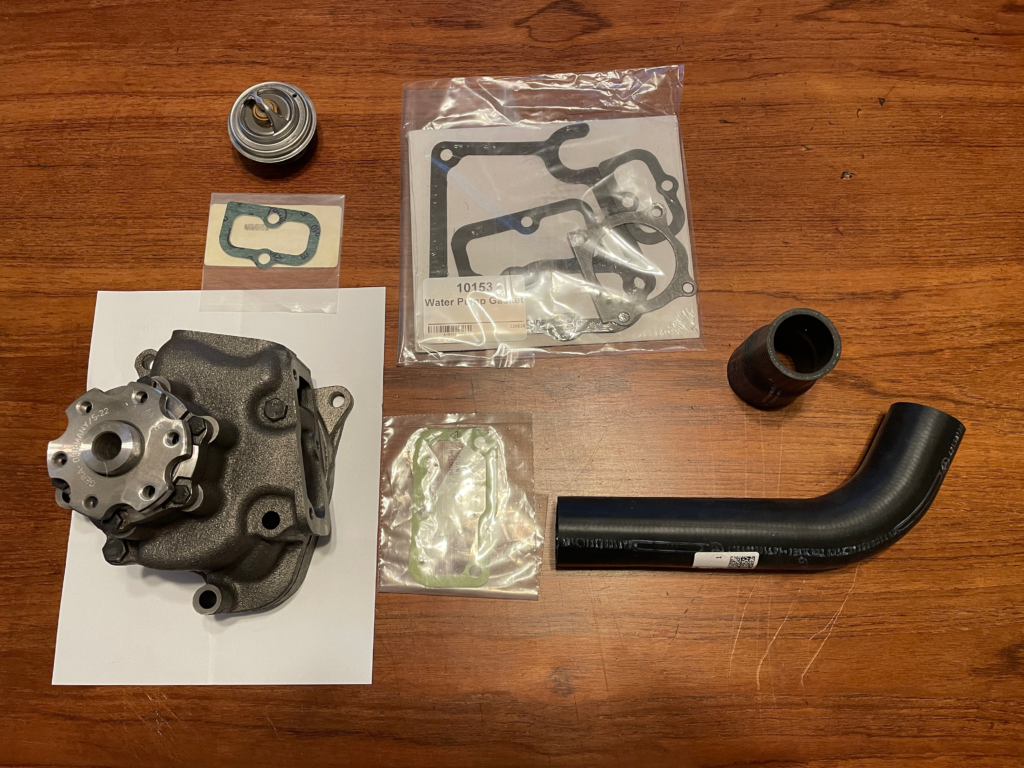
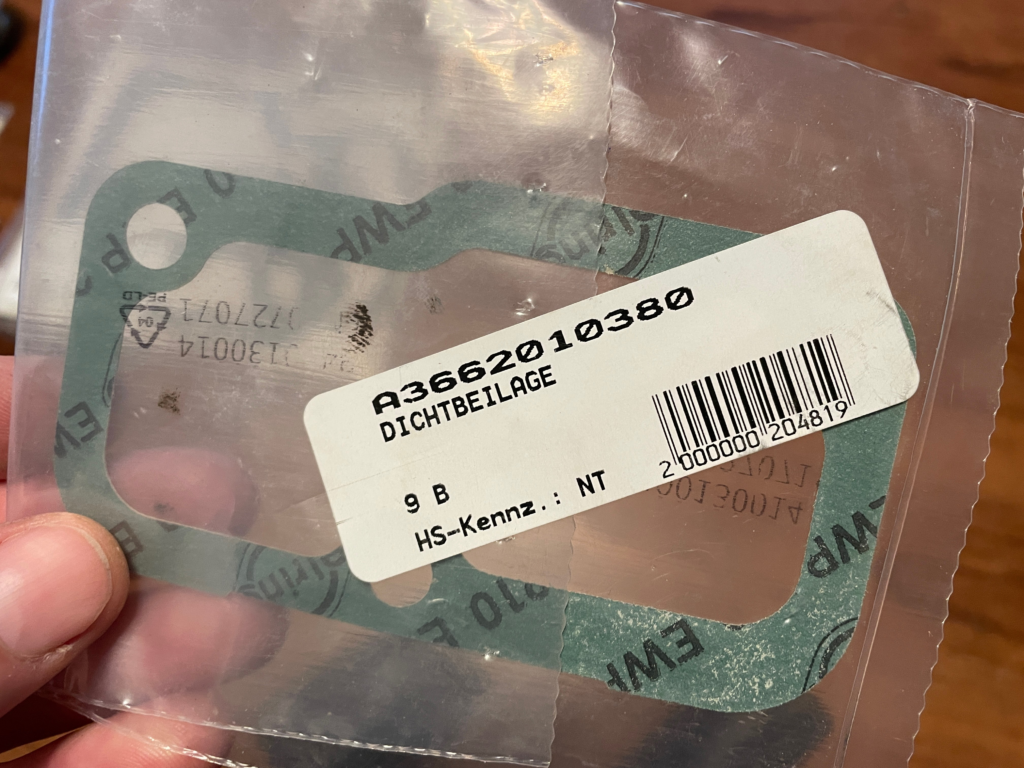
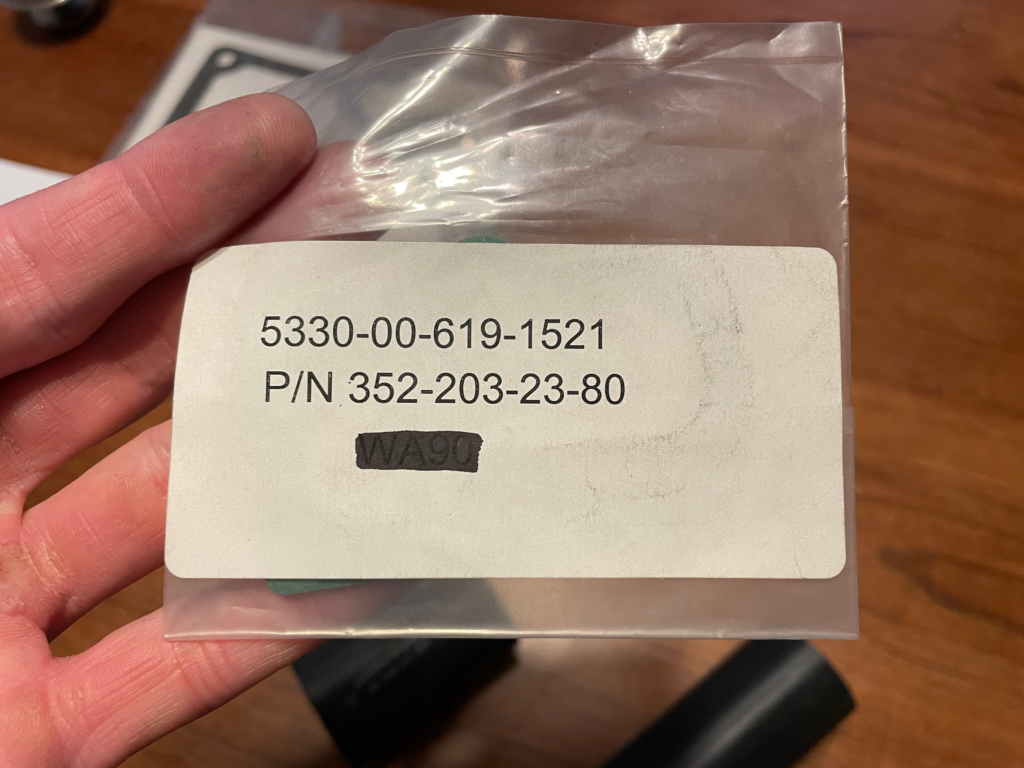
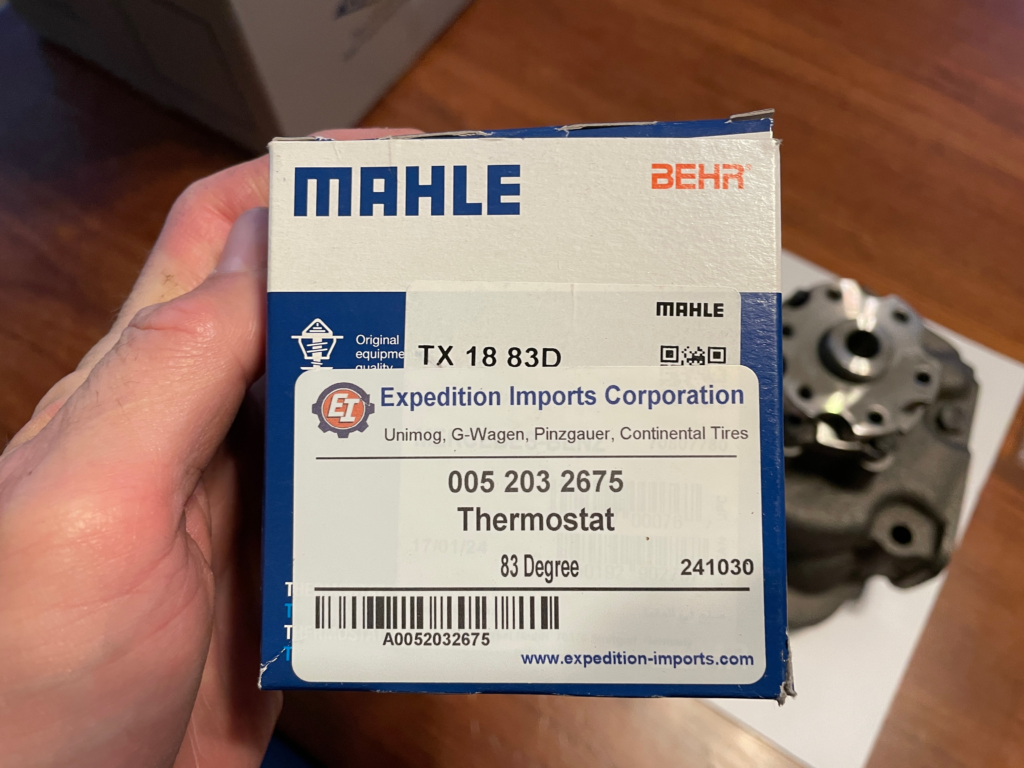
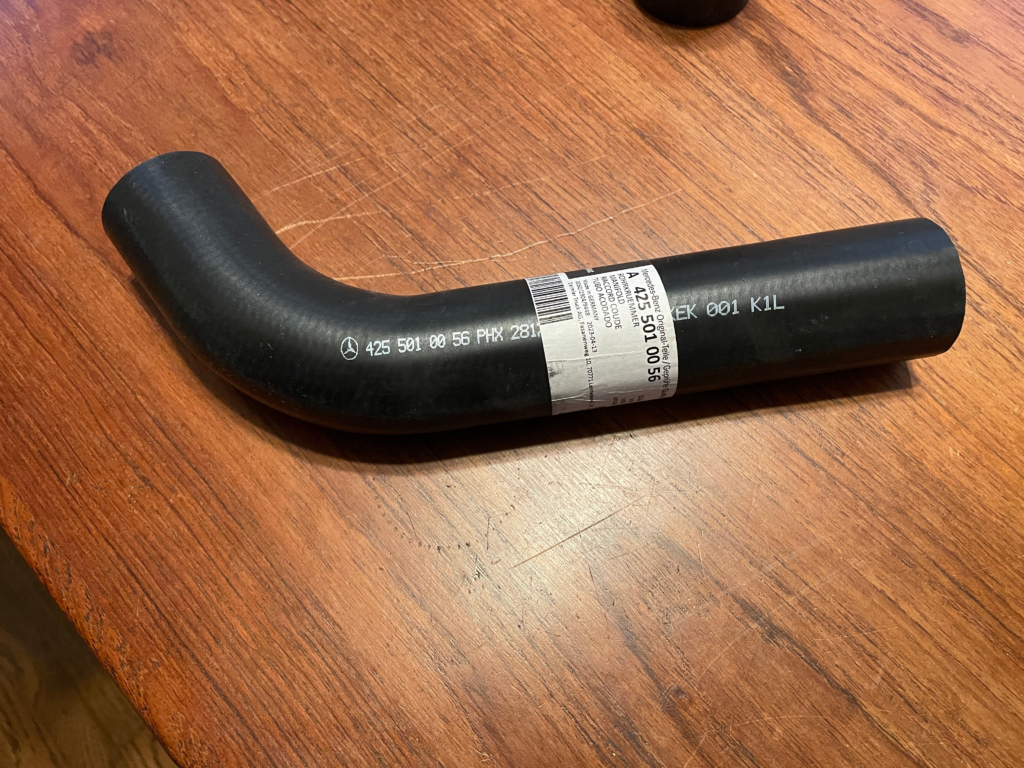
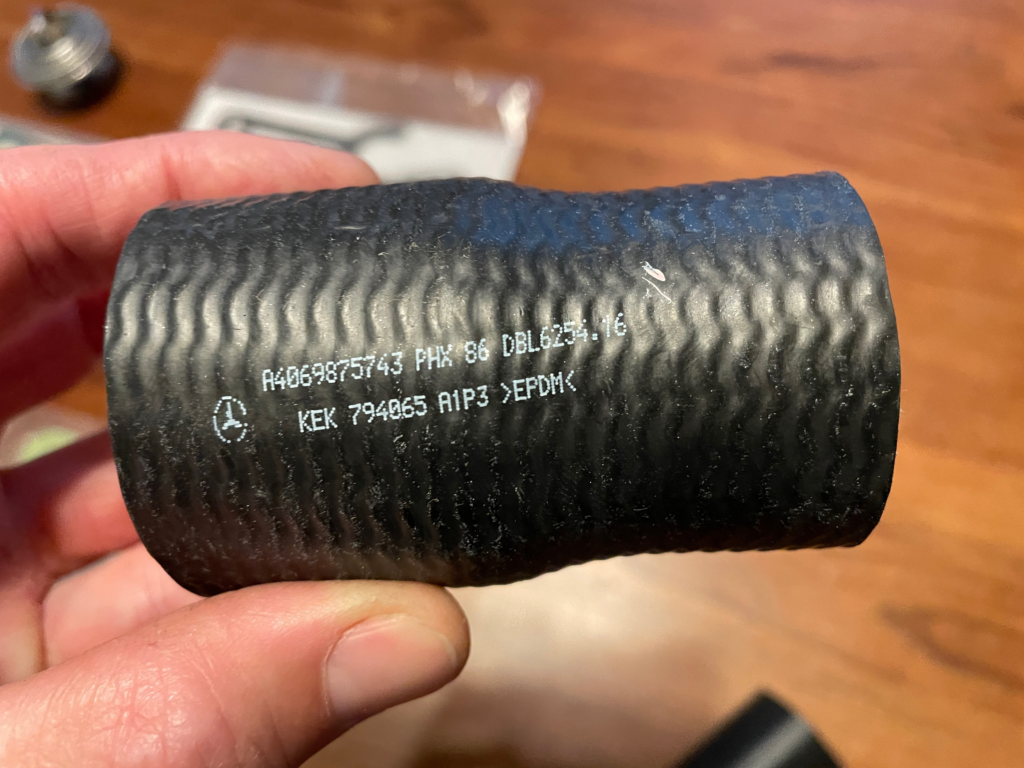
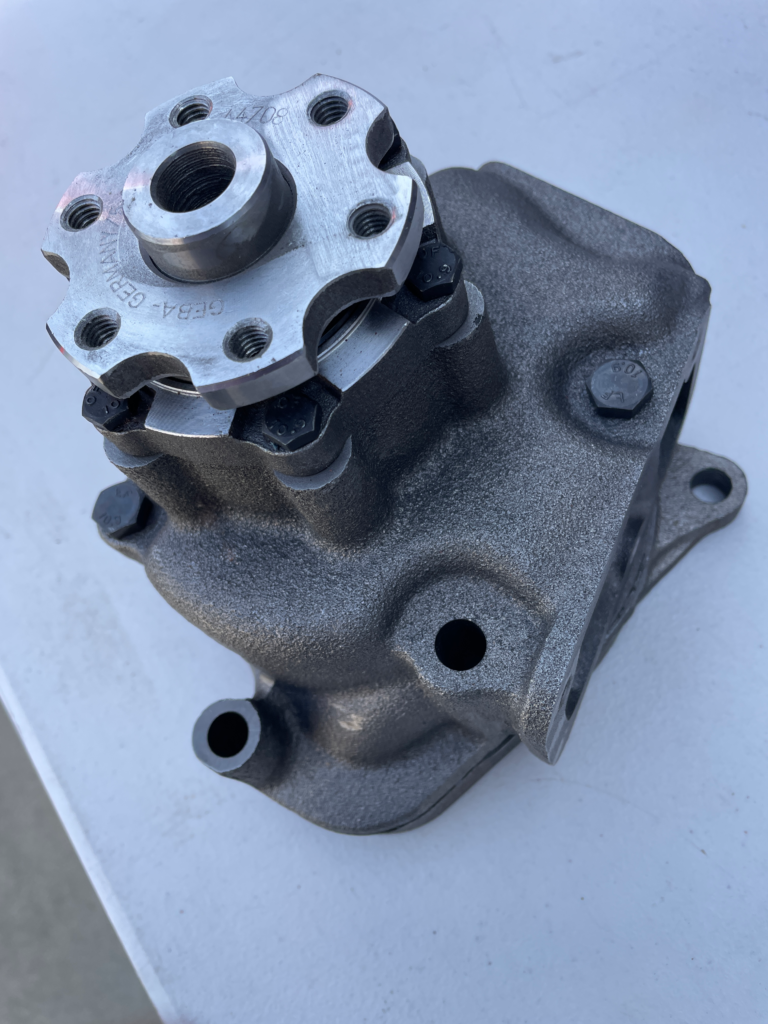
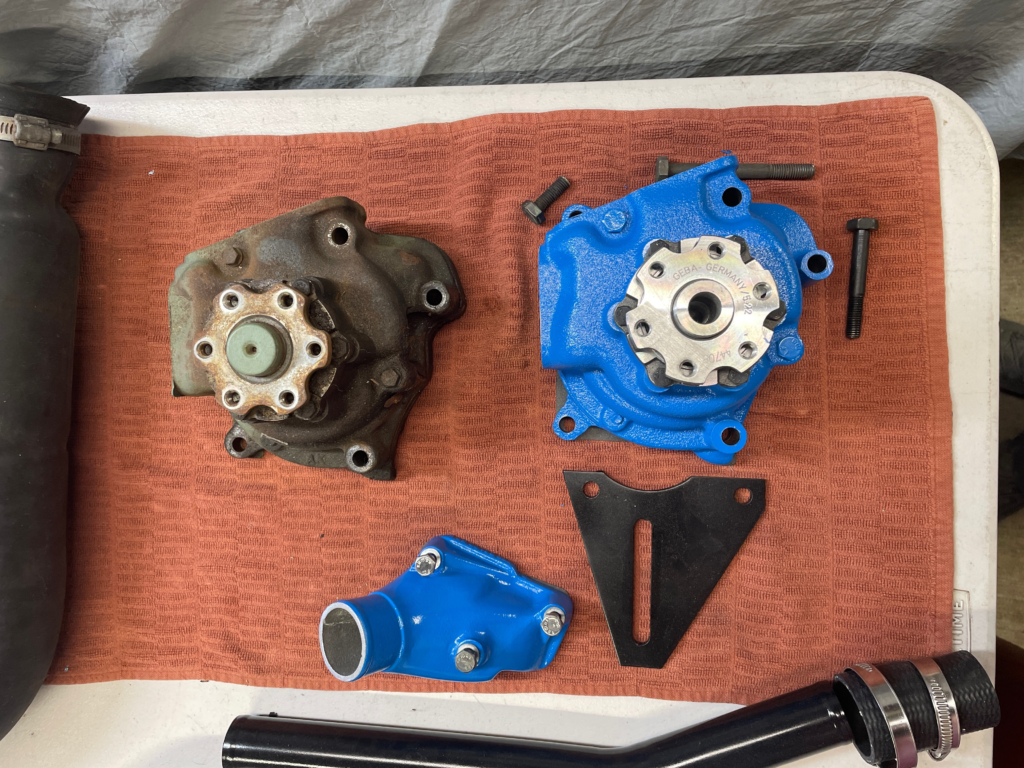
Here are some photos of the new parts purchased from Expedition Imports for this project.
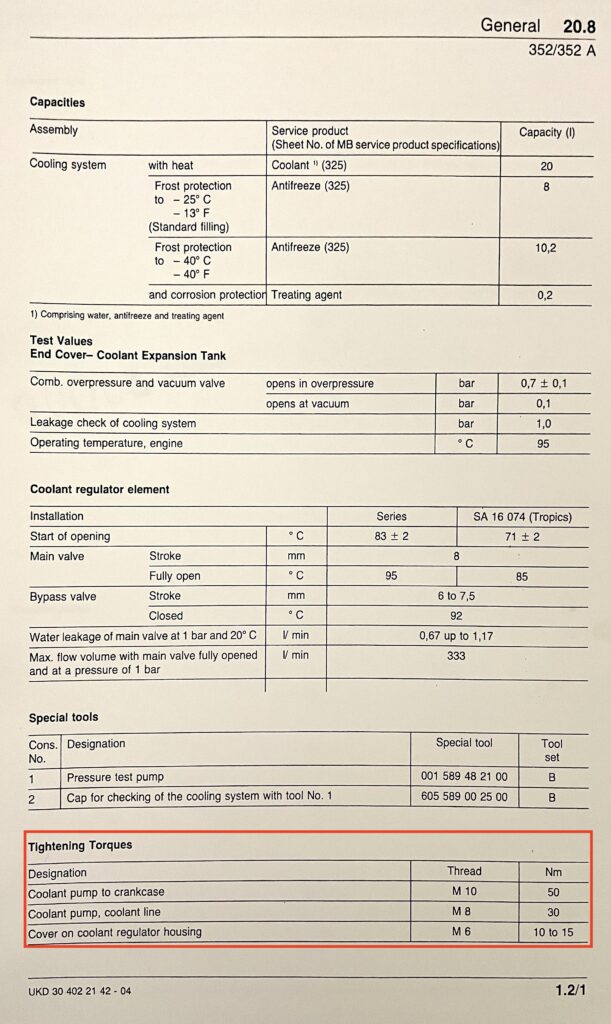
Torque Specifications
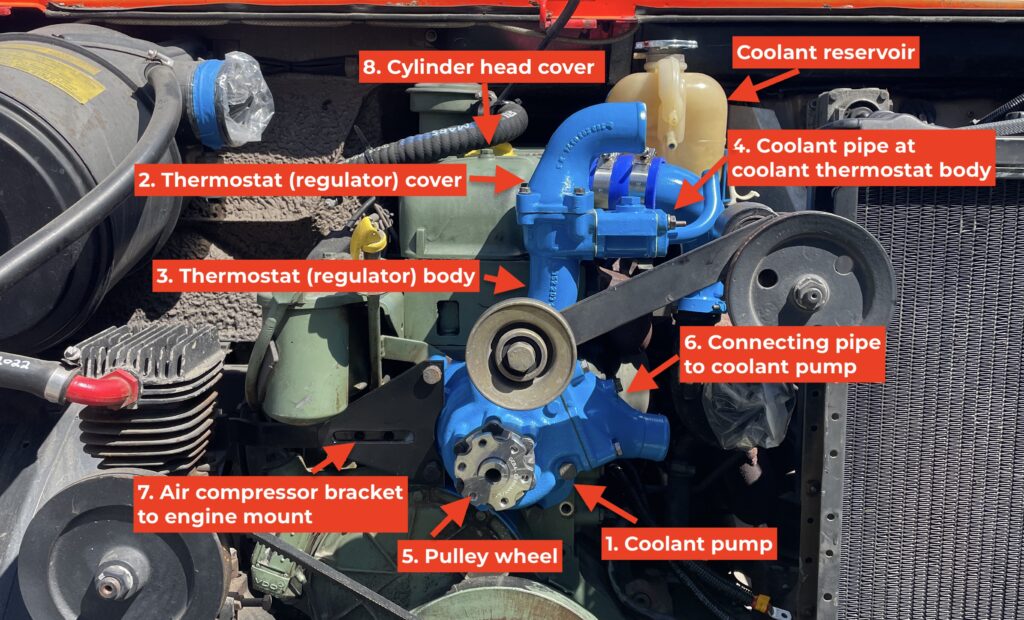
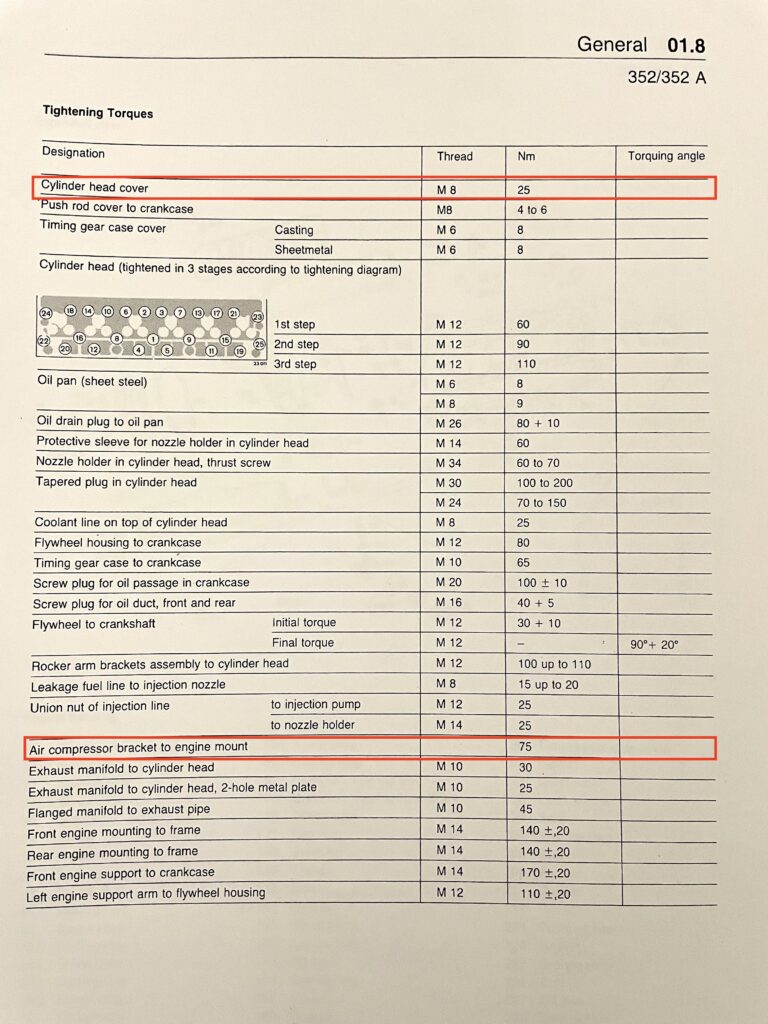
Torque specs are always quite the chore. First you have to find where the specs are listed, then you have to determine the correct name of each item, then you have to find all of the items that are inevitably missing. It is tedious and time consuming. I have started to try to use AI for this but it might actually be more work. There are so many different numbers out there, AI is often wrong. But it is often right as well. So, you end up double checking everything anyway.
A few notes:
- I could not find a spec for the six pulley wheel bolts. I used 20 ft. lbs. – it just felt right.
- The air compressor bolts seem way to high. In the table 1.4/1 you see it listed without a bolt size. Weird.
- I did not account for anti-seize which I believe I used. I am thinking maybe Loctite would have been better. I am going to account for anti-seize right now when re-checking my bolts. I will reduce the dry torque specs by 25%
| Part / Bolt (s) | Newton Meters | Foot Pounds | Ft.Lbs. – 25% | Size | QTY |
|---|---|---|---|---|---|
| 1. Coolant pump to crankcase | 50 | 37 | 28 | M10 | 5 |
| 2. Thermostat (regulator) cover | 10-15 | 7-11 | 5-8 | M6 | 4 |
| 3. Thermostat (regulator) body or housing | 30 | 22 | 17 | M8 | 2 |
| 4. Coolant pipe at coolant thermostat body | 25 | 18 | 14 | M8 | 2 |
| 5. Pulley wheel | ?? | ?? | 20 | M6?? | 6 |
| 6. Connecting pipe to coolant pump (lower radiator) | 30 | 22 | 17 | M8 | 3 |
| 7. Air compressor bracket to engine mount | 75 | 55 | 41 | M8 | 2 |
| 8. Cylinder head cover | 25 | 18 | 14 | M8 | 6 |
Miscellaneous Photos
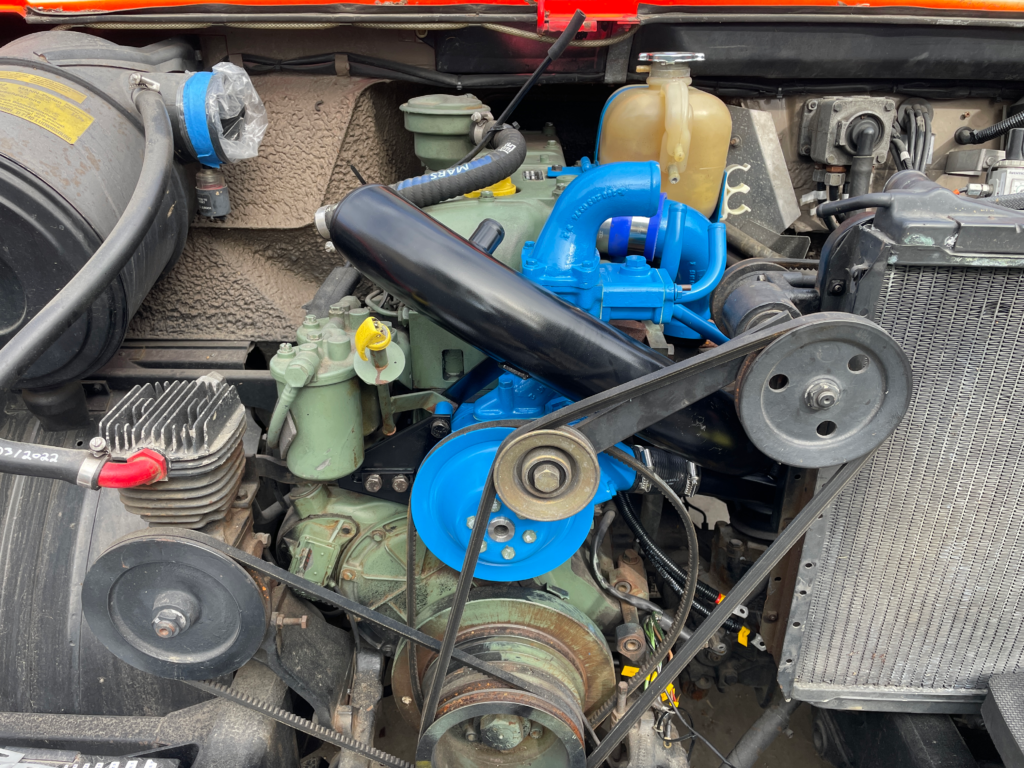
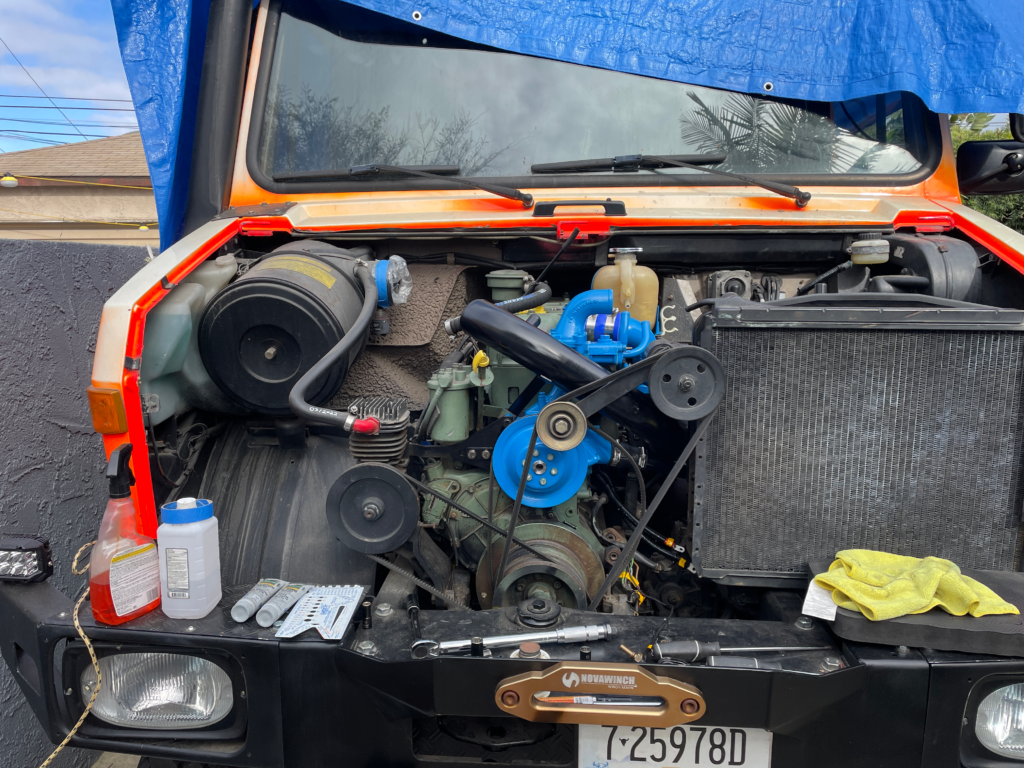
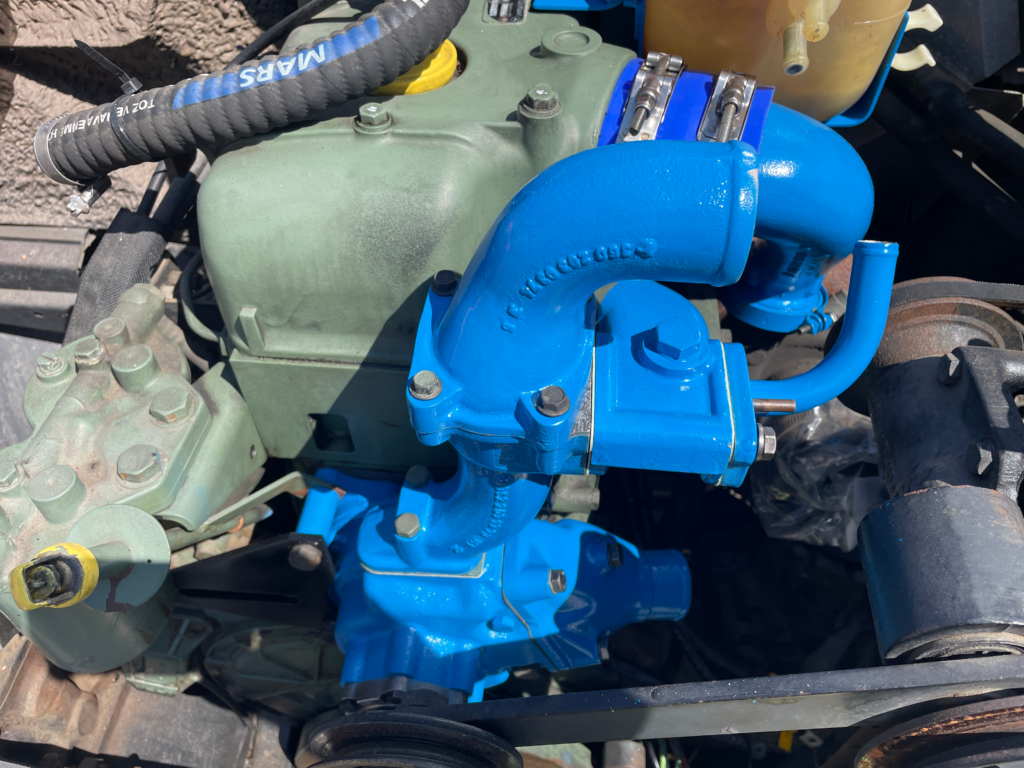
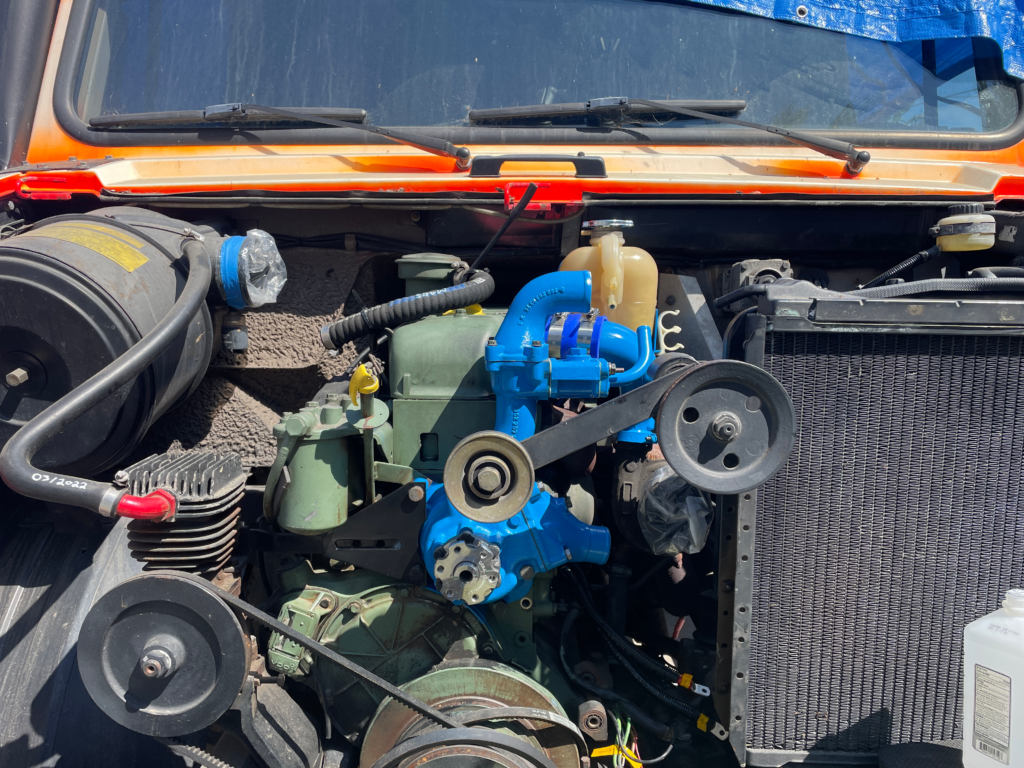
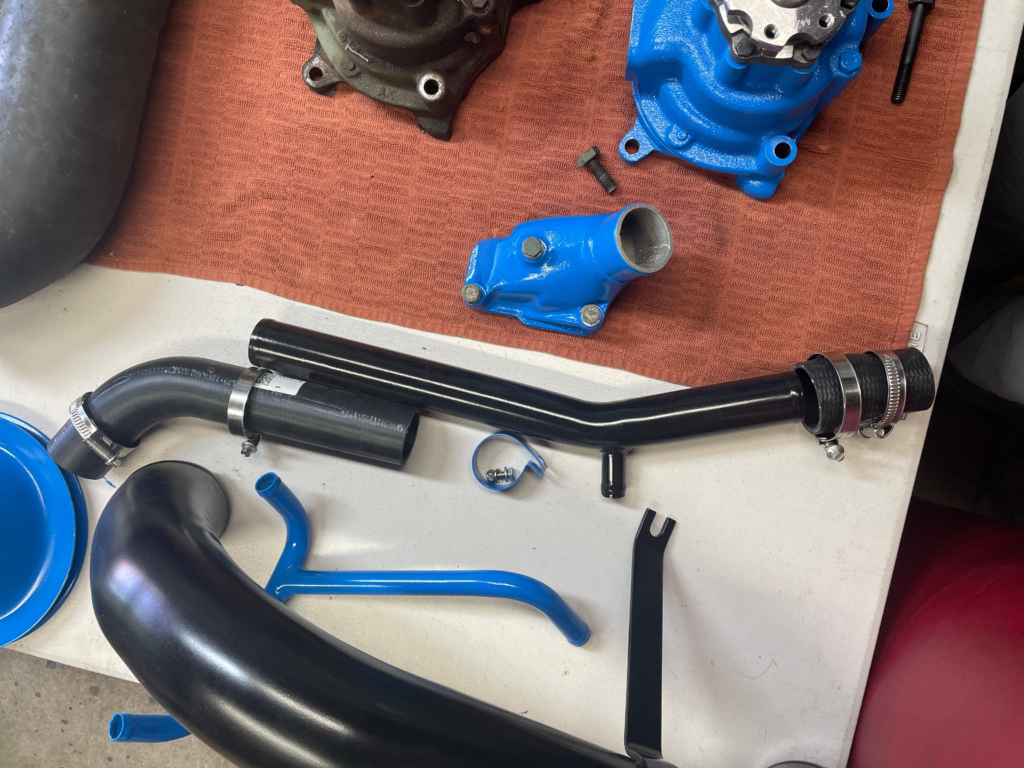
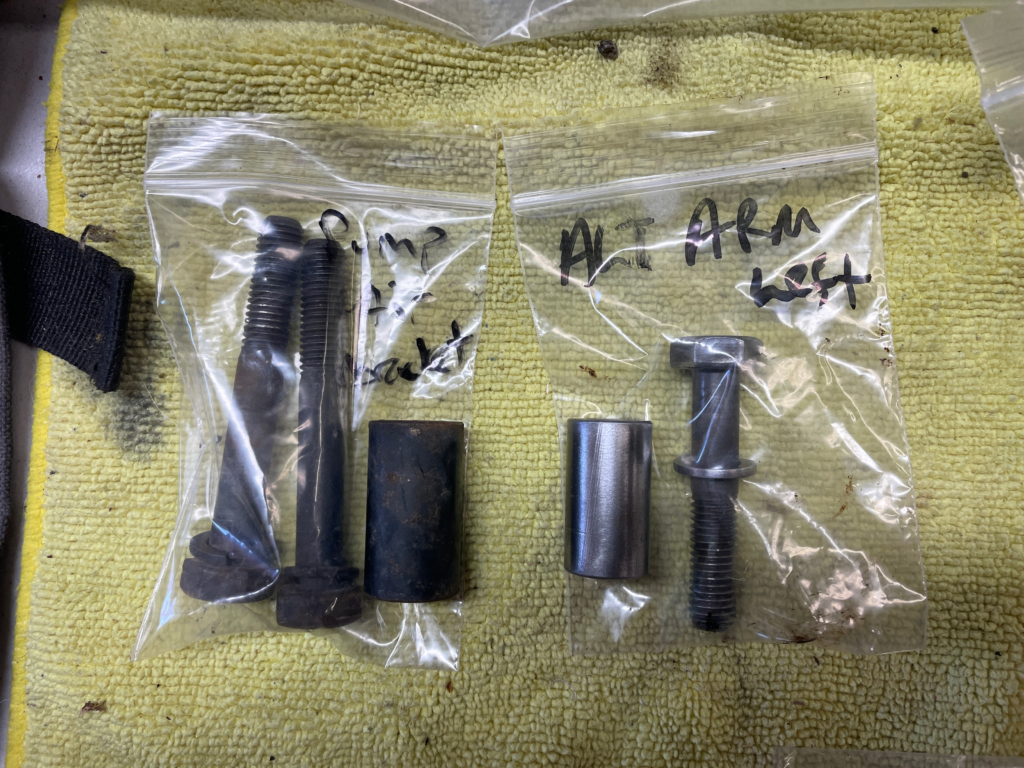
Here are a bunch of shots taken during this project. Maybe some day I will organize them better. If you have any ideas, let me know.
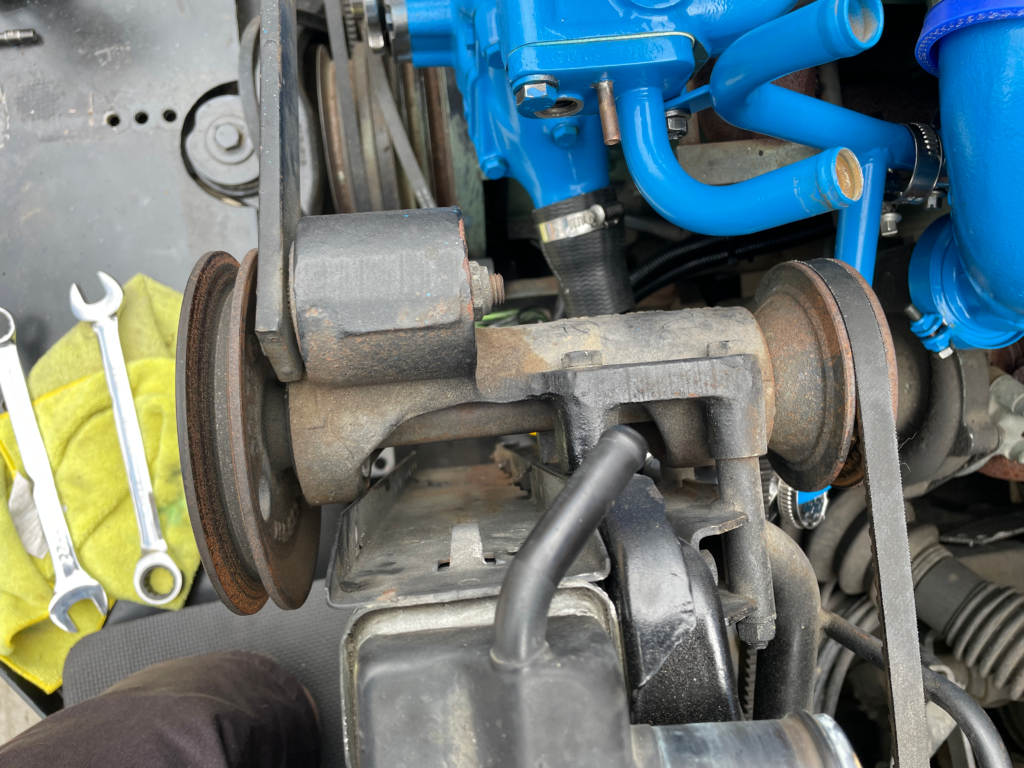
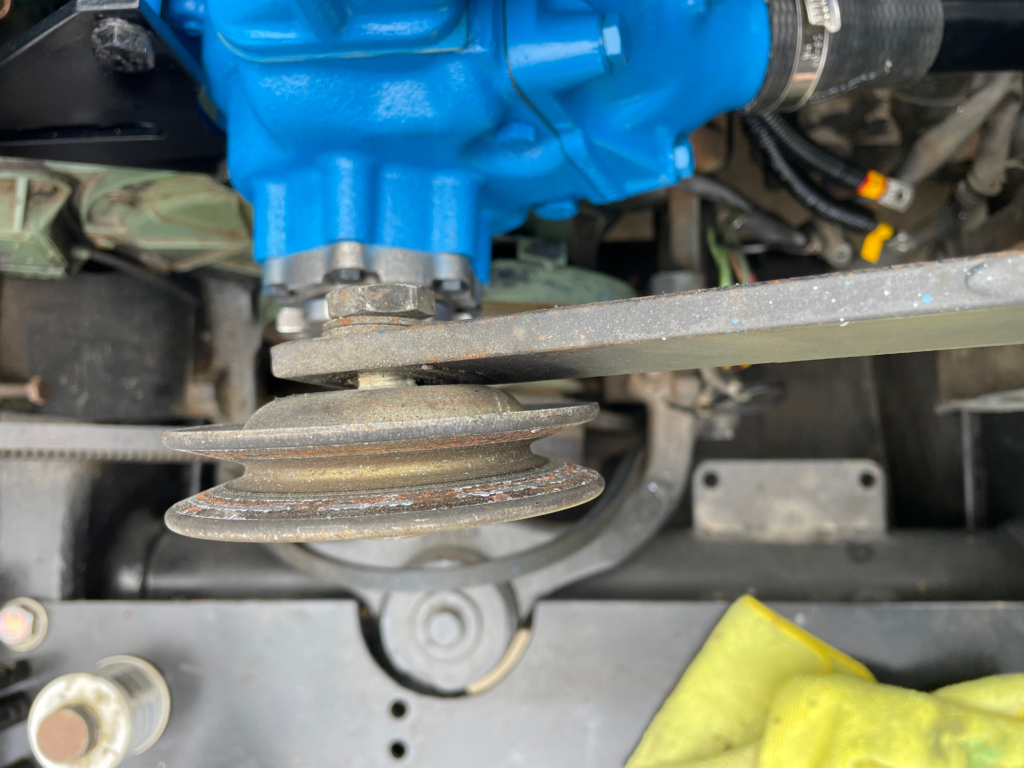
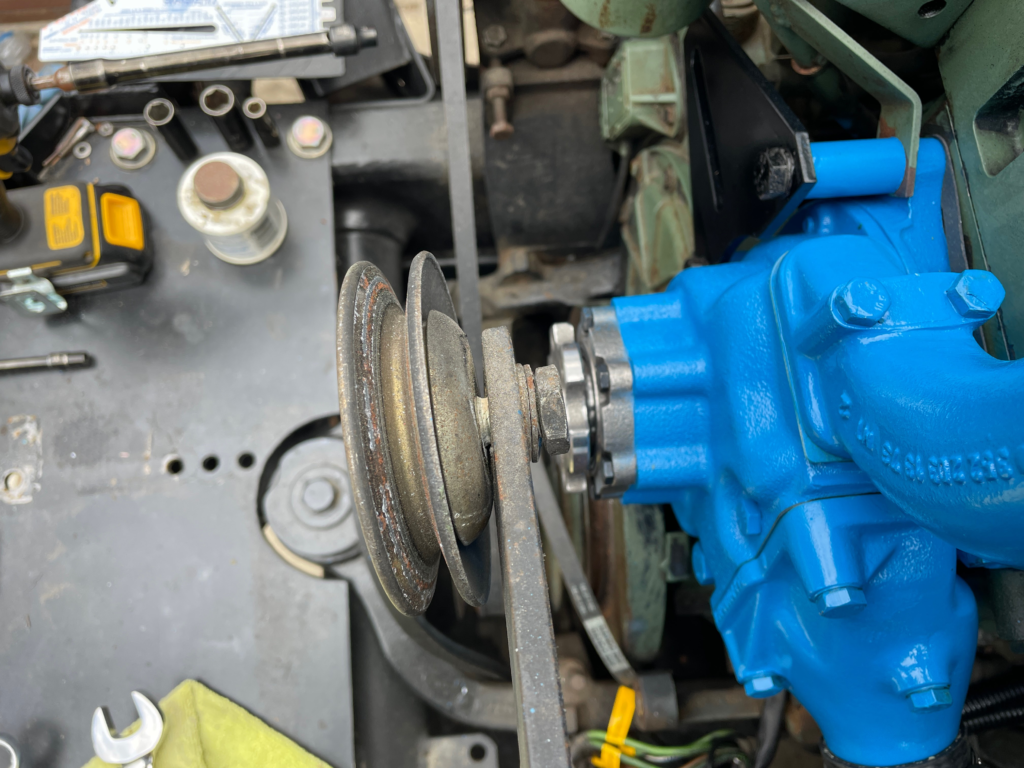
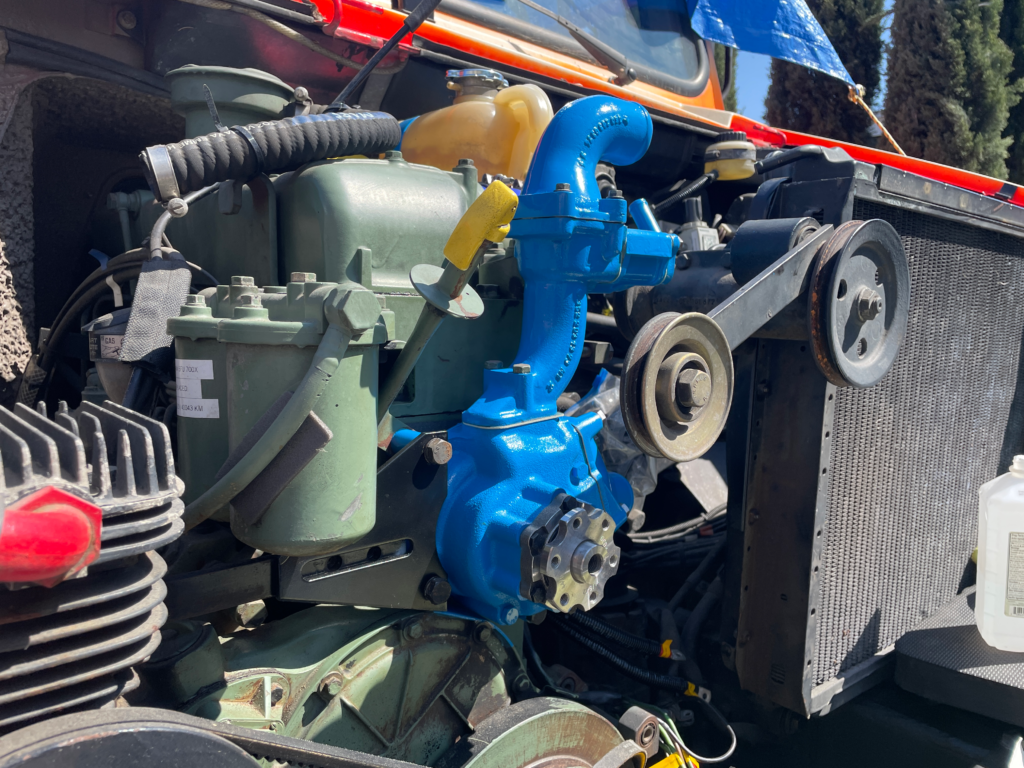
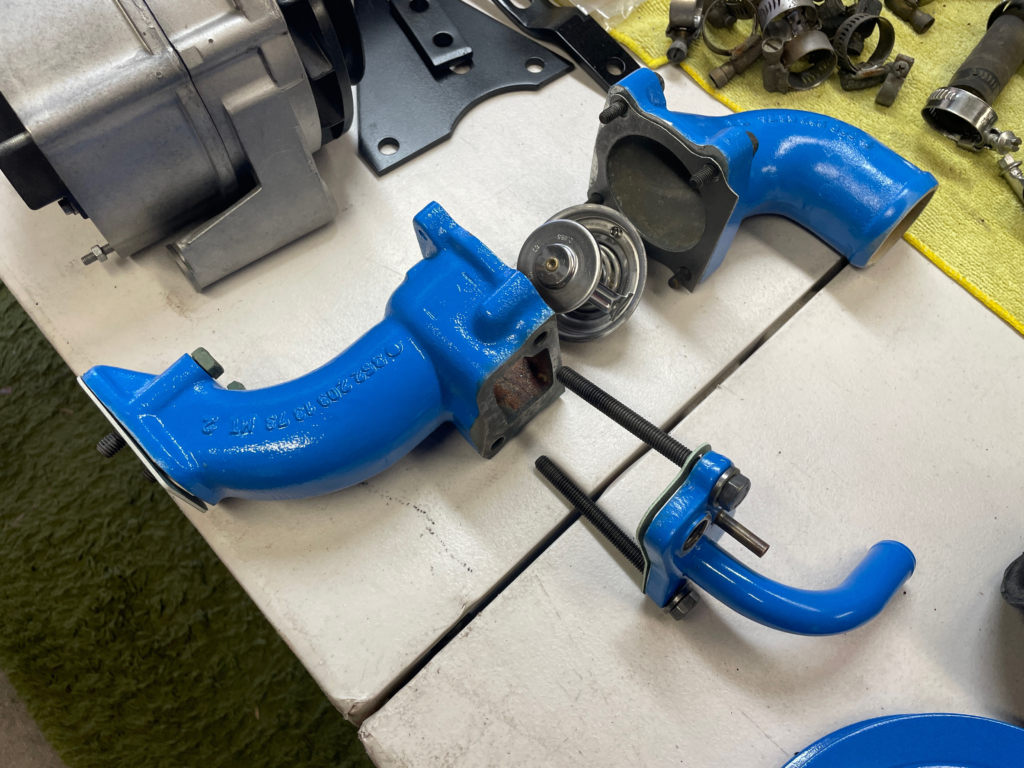
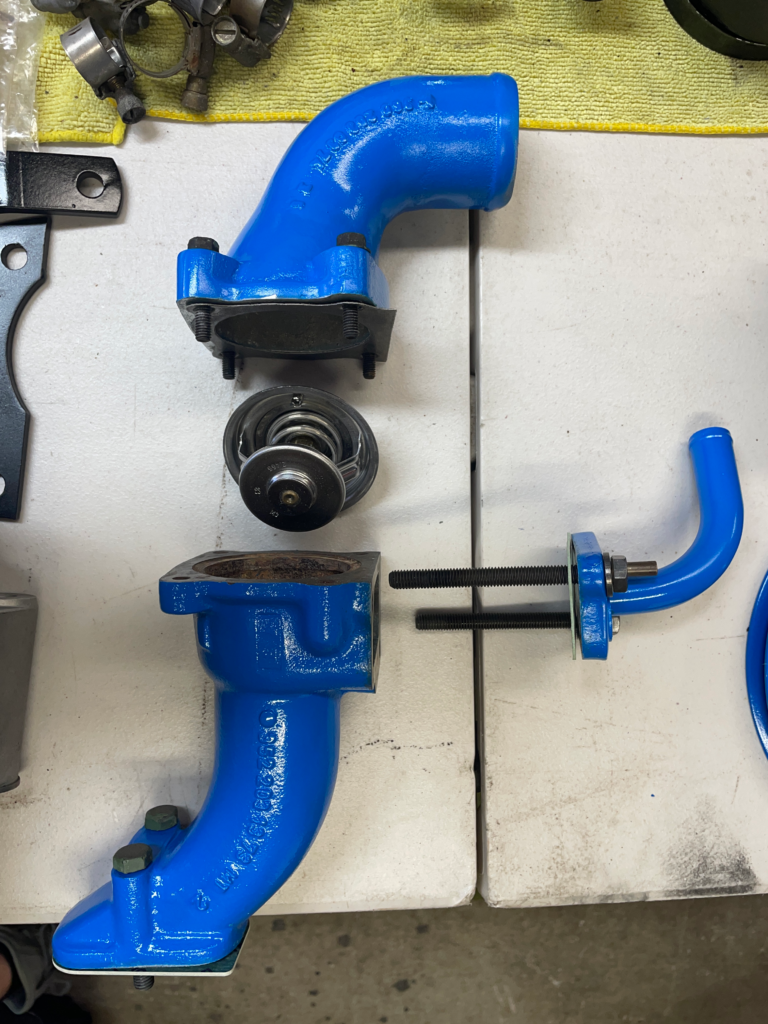
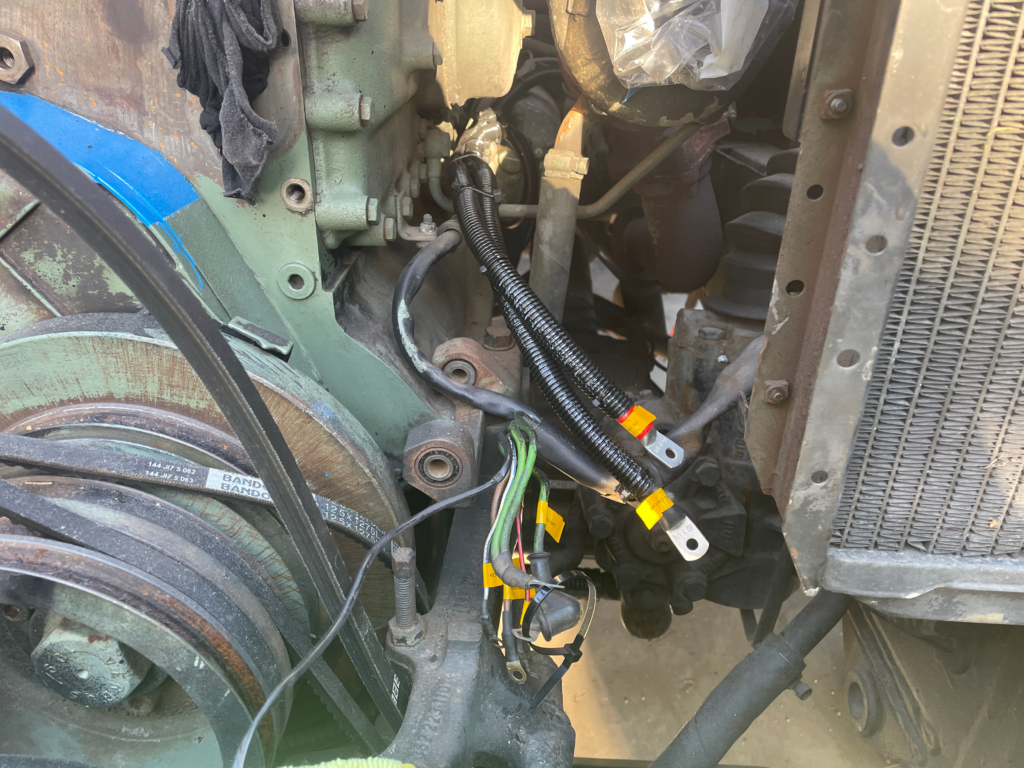
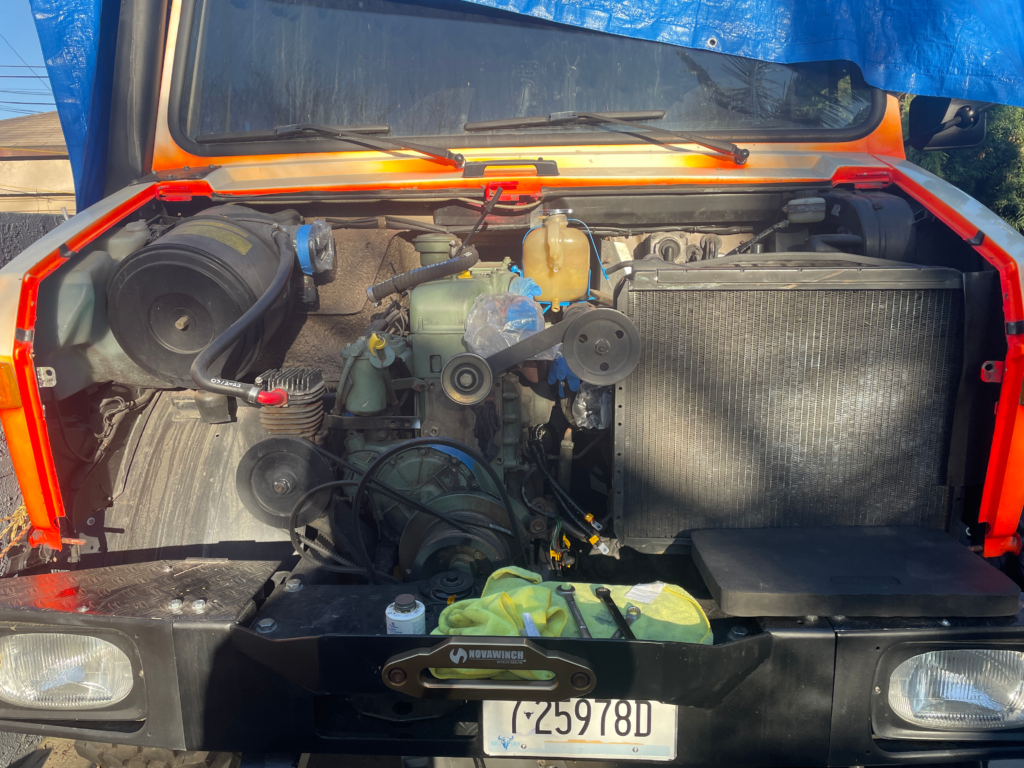
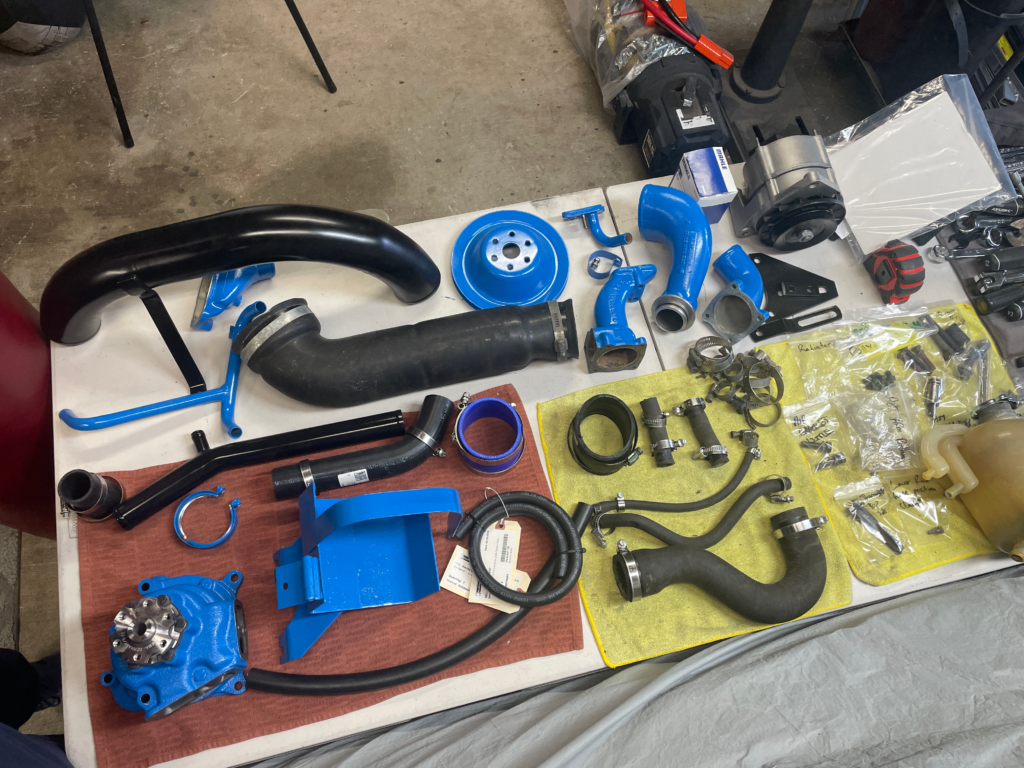
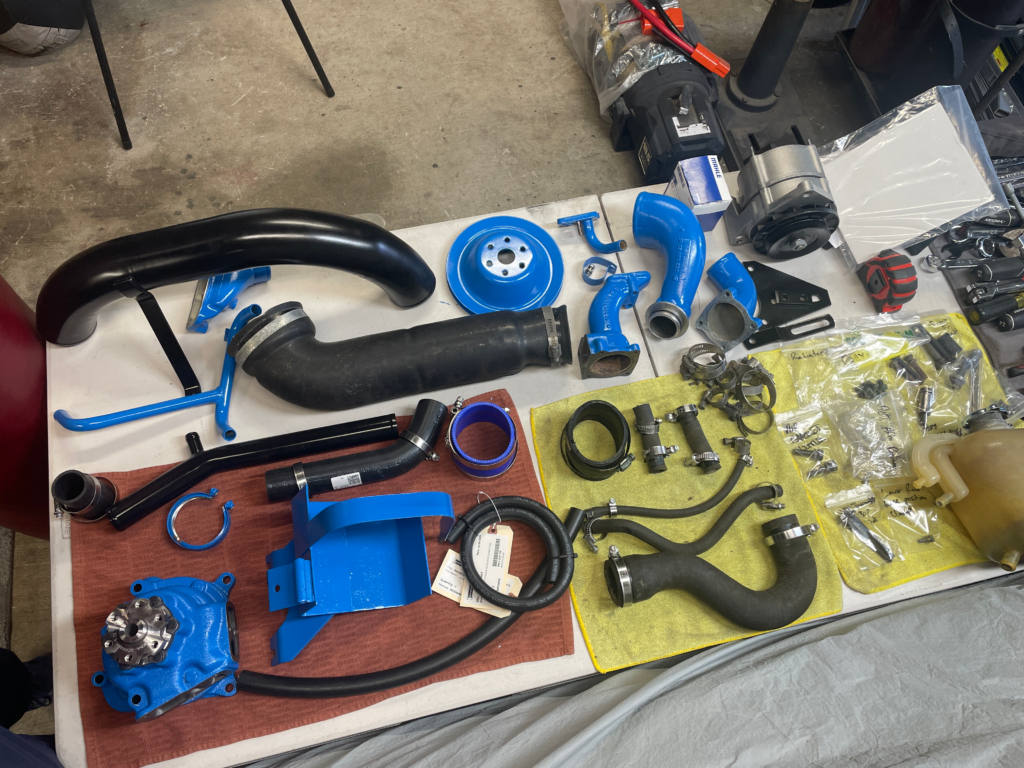
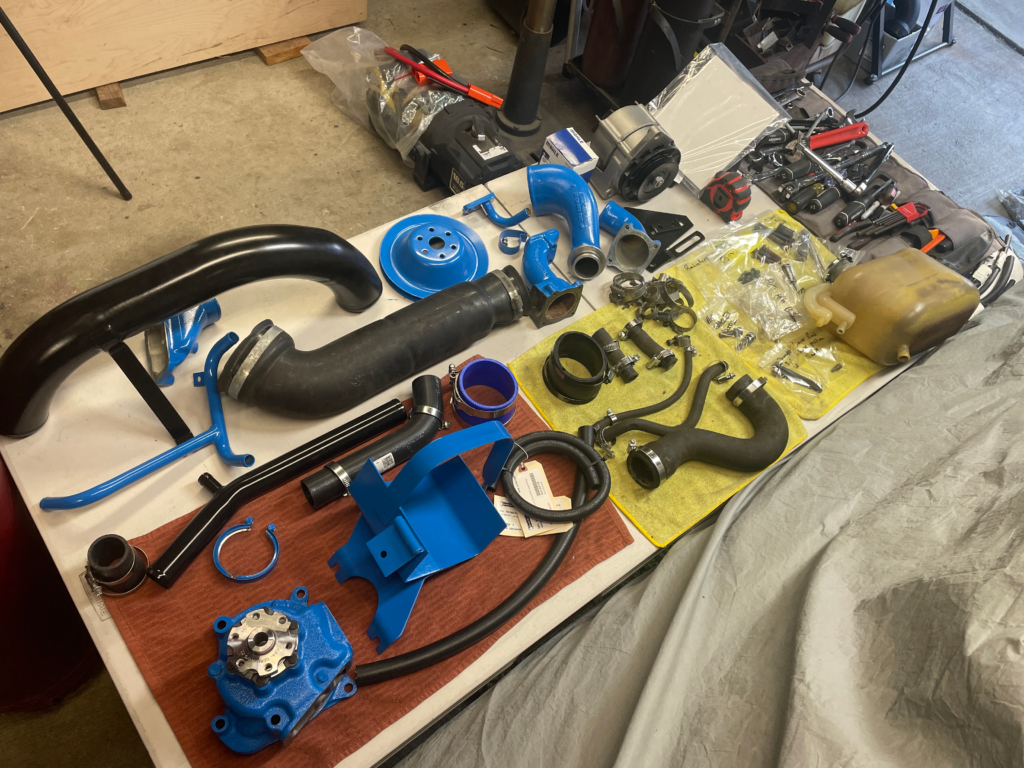
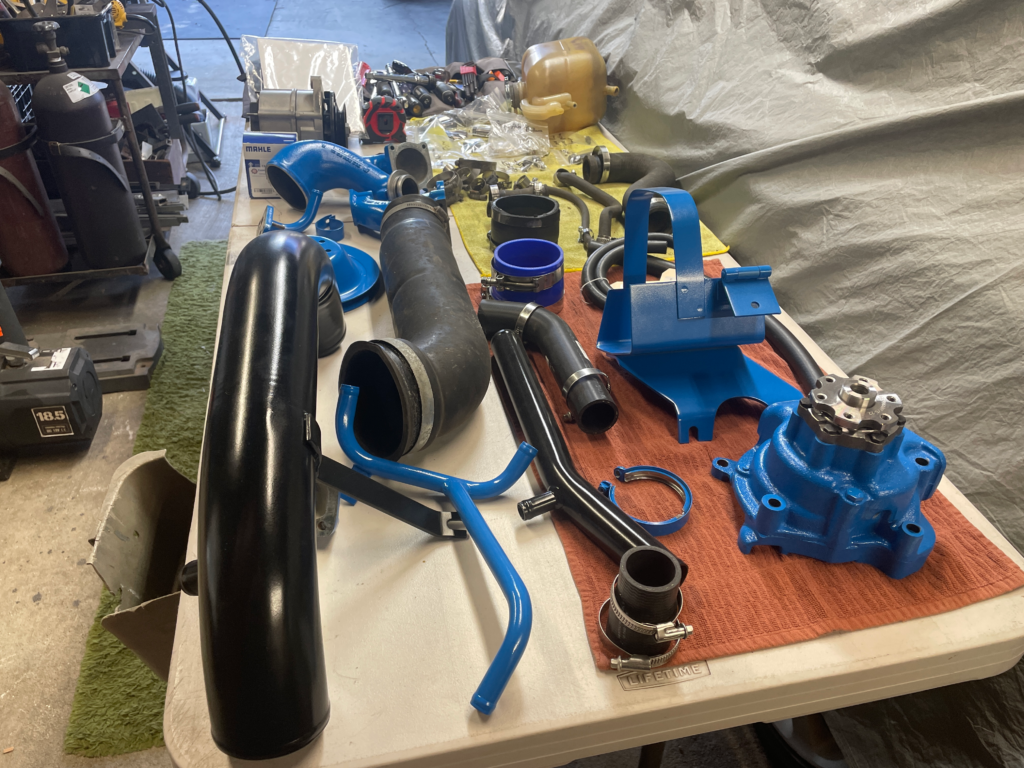
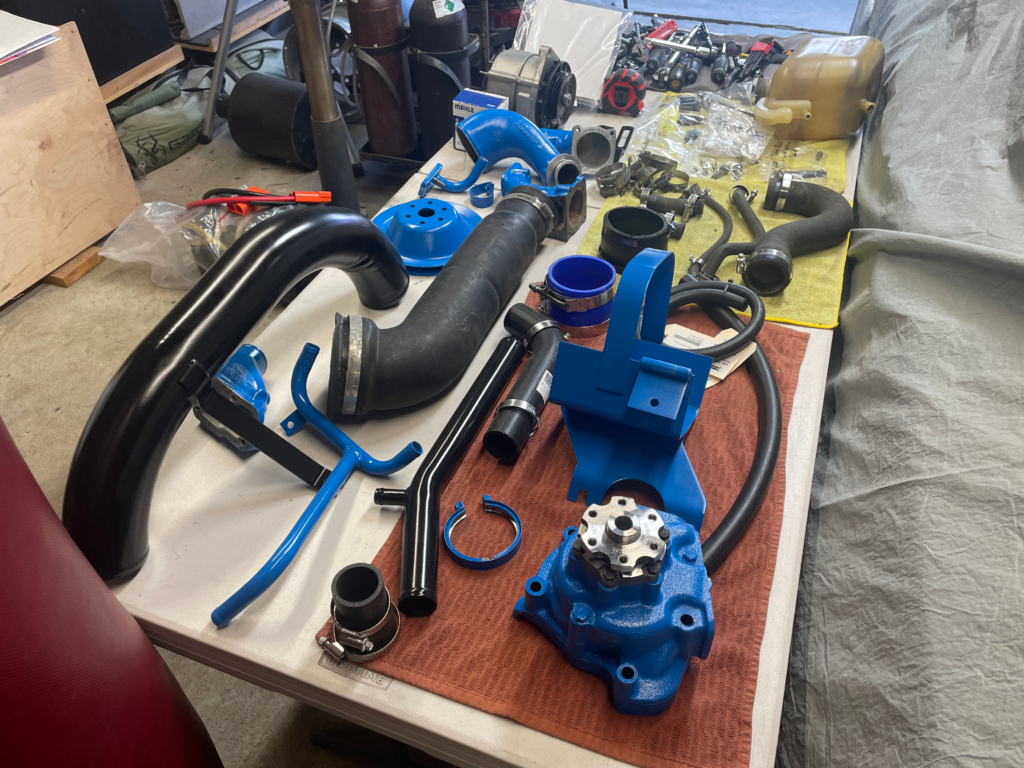
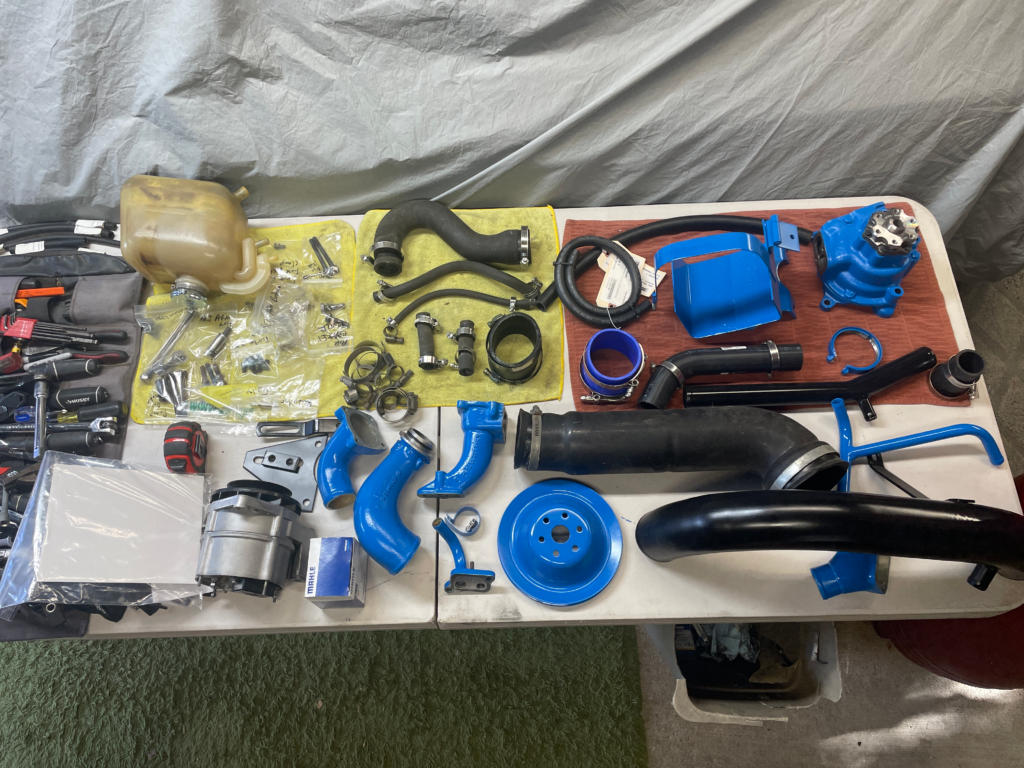
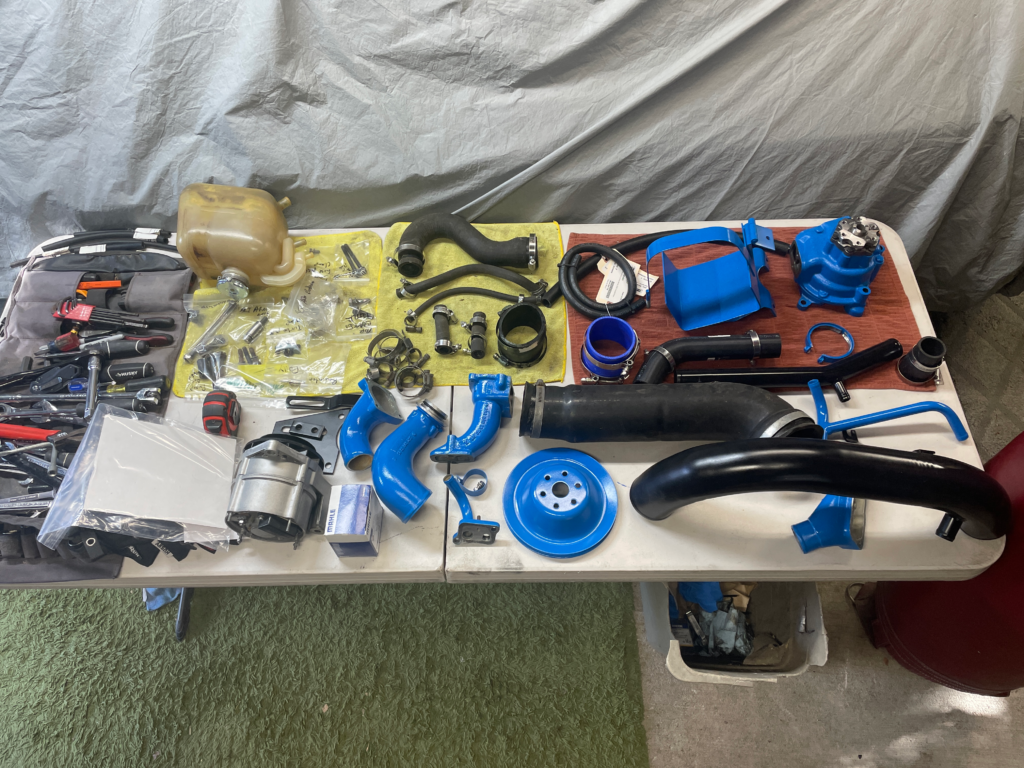
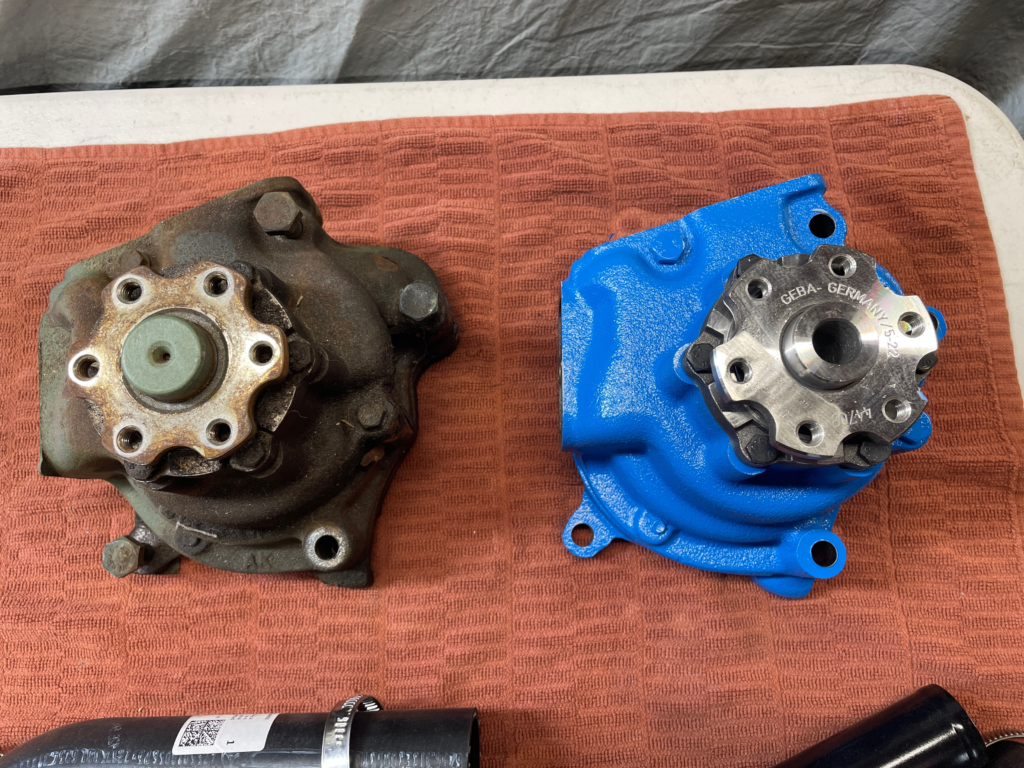
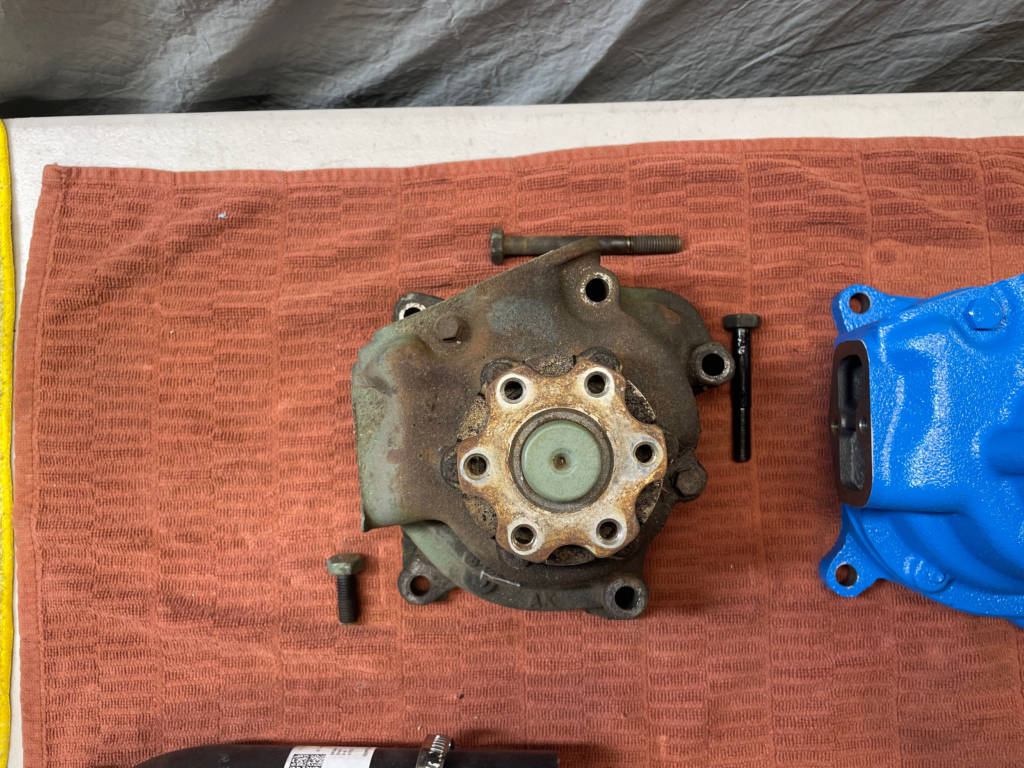
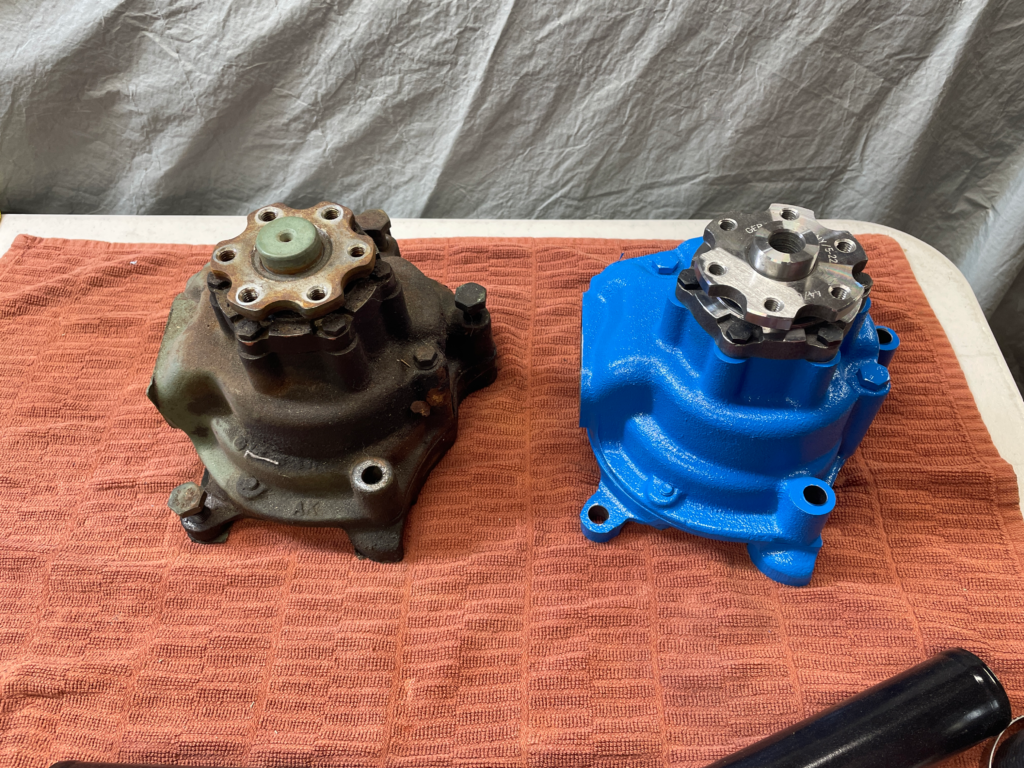
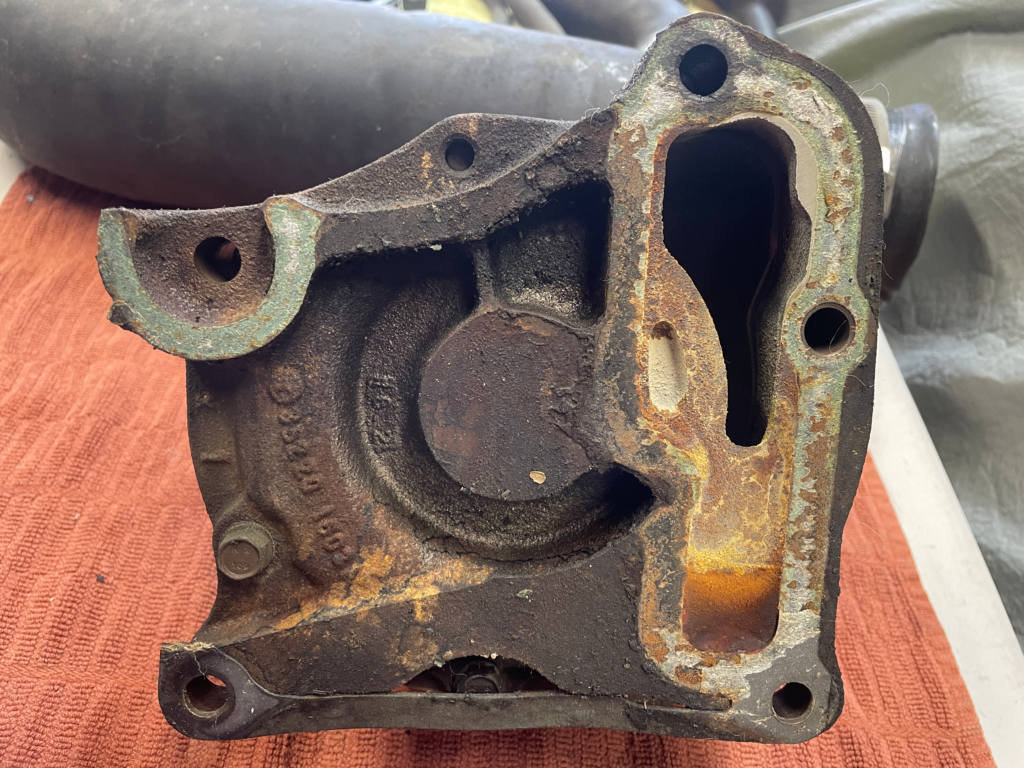
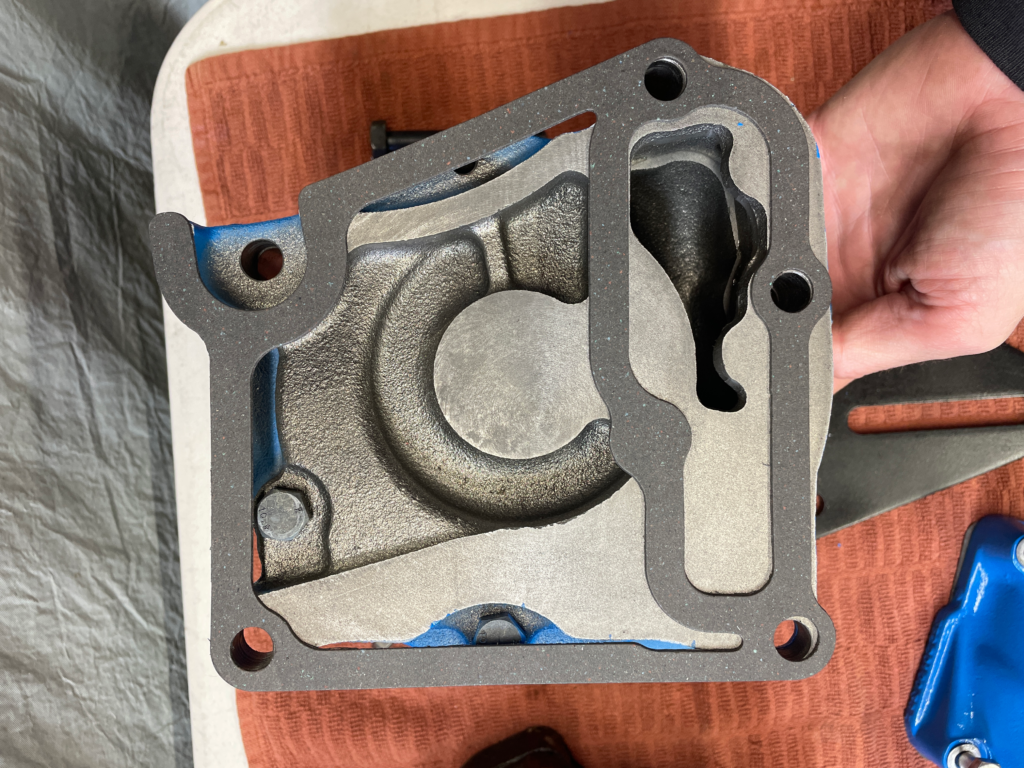
Water pump
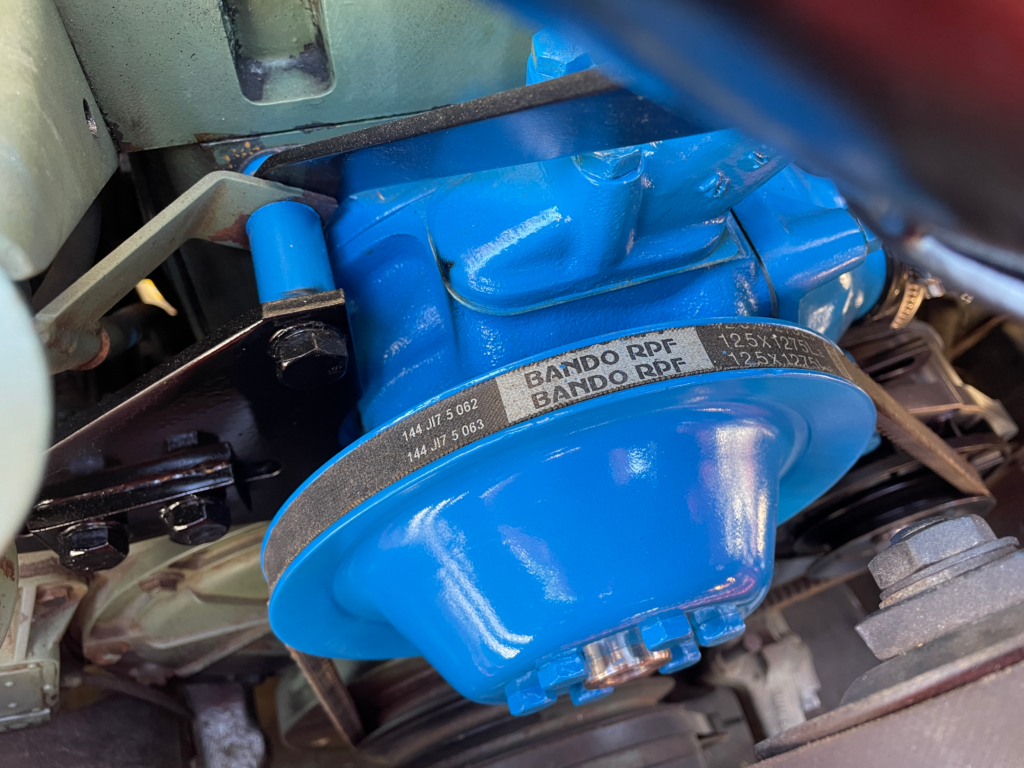
This is the part that started this whole mess.
Radiator
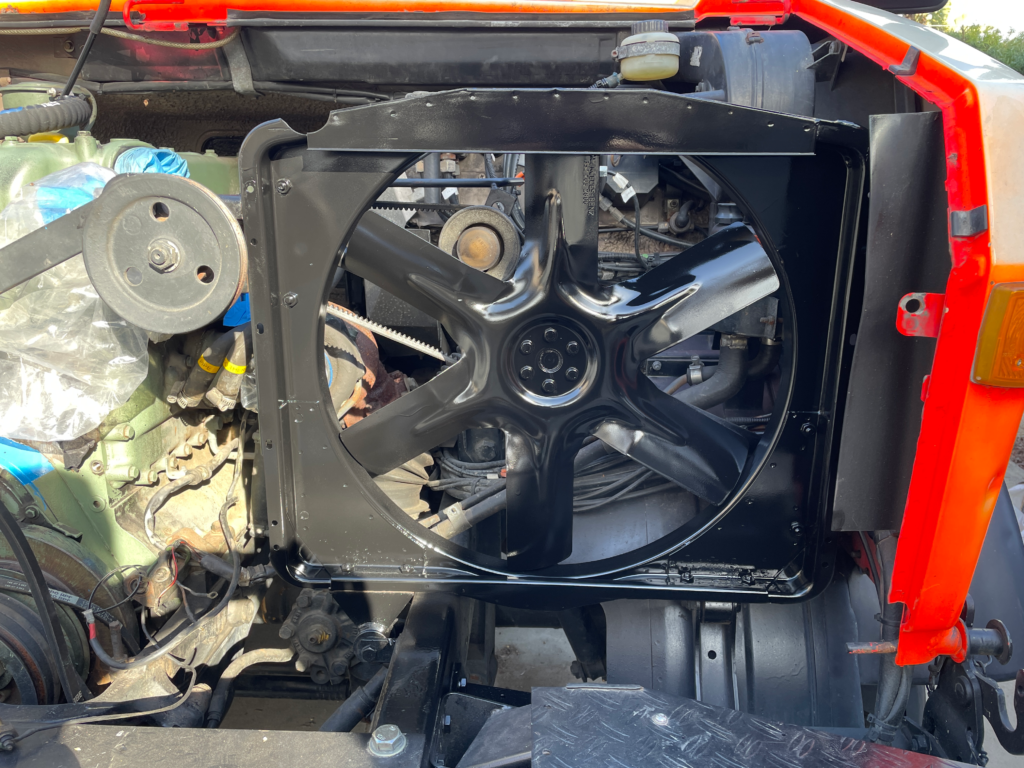
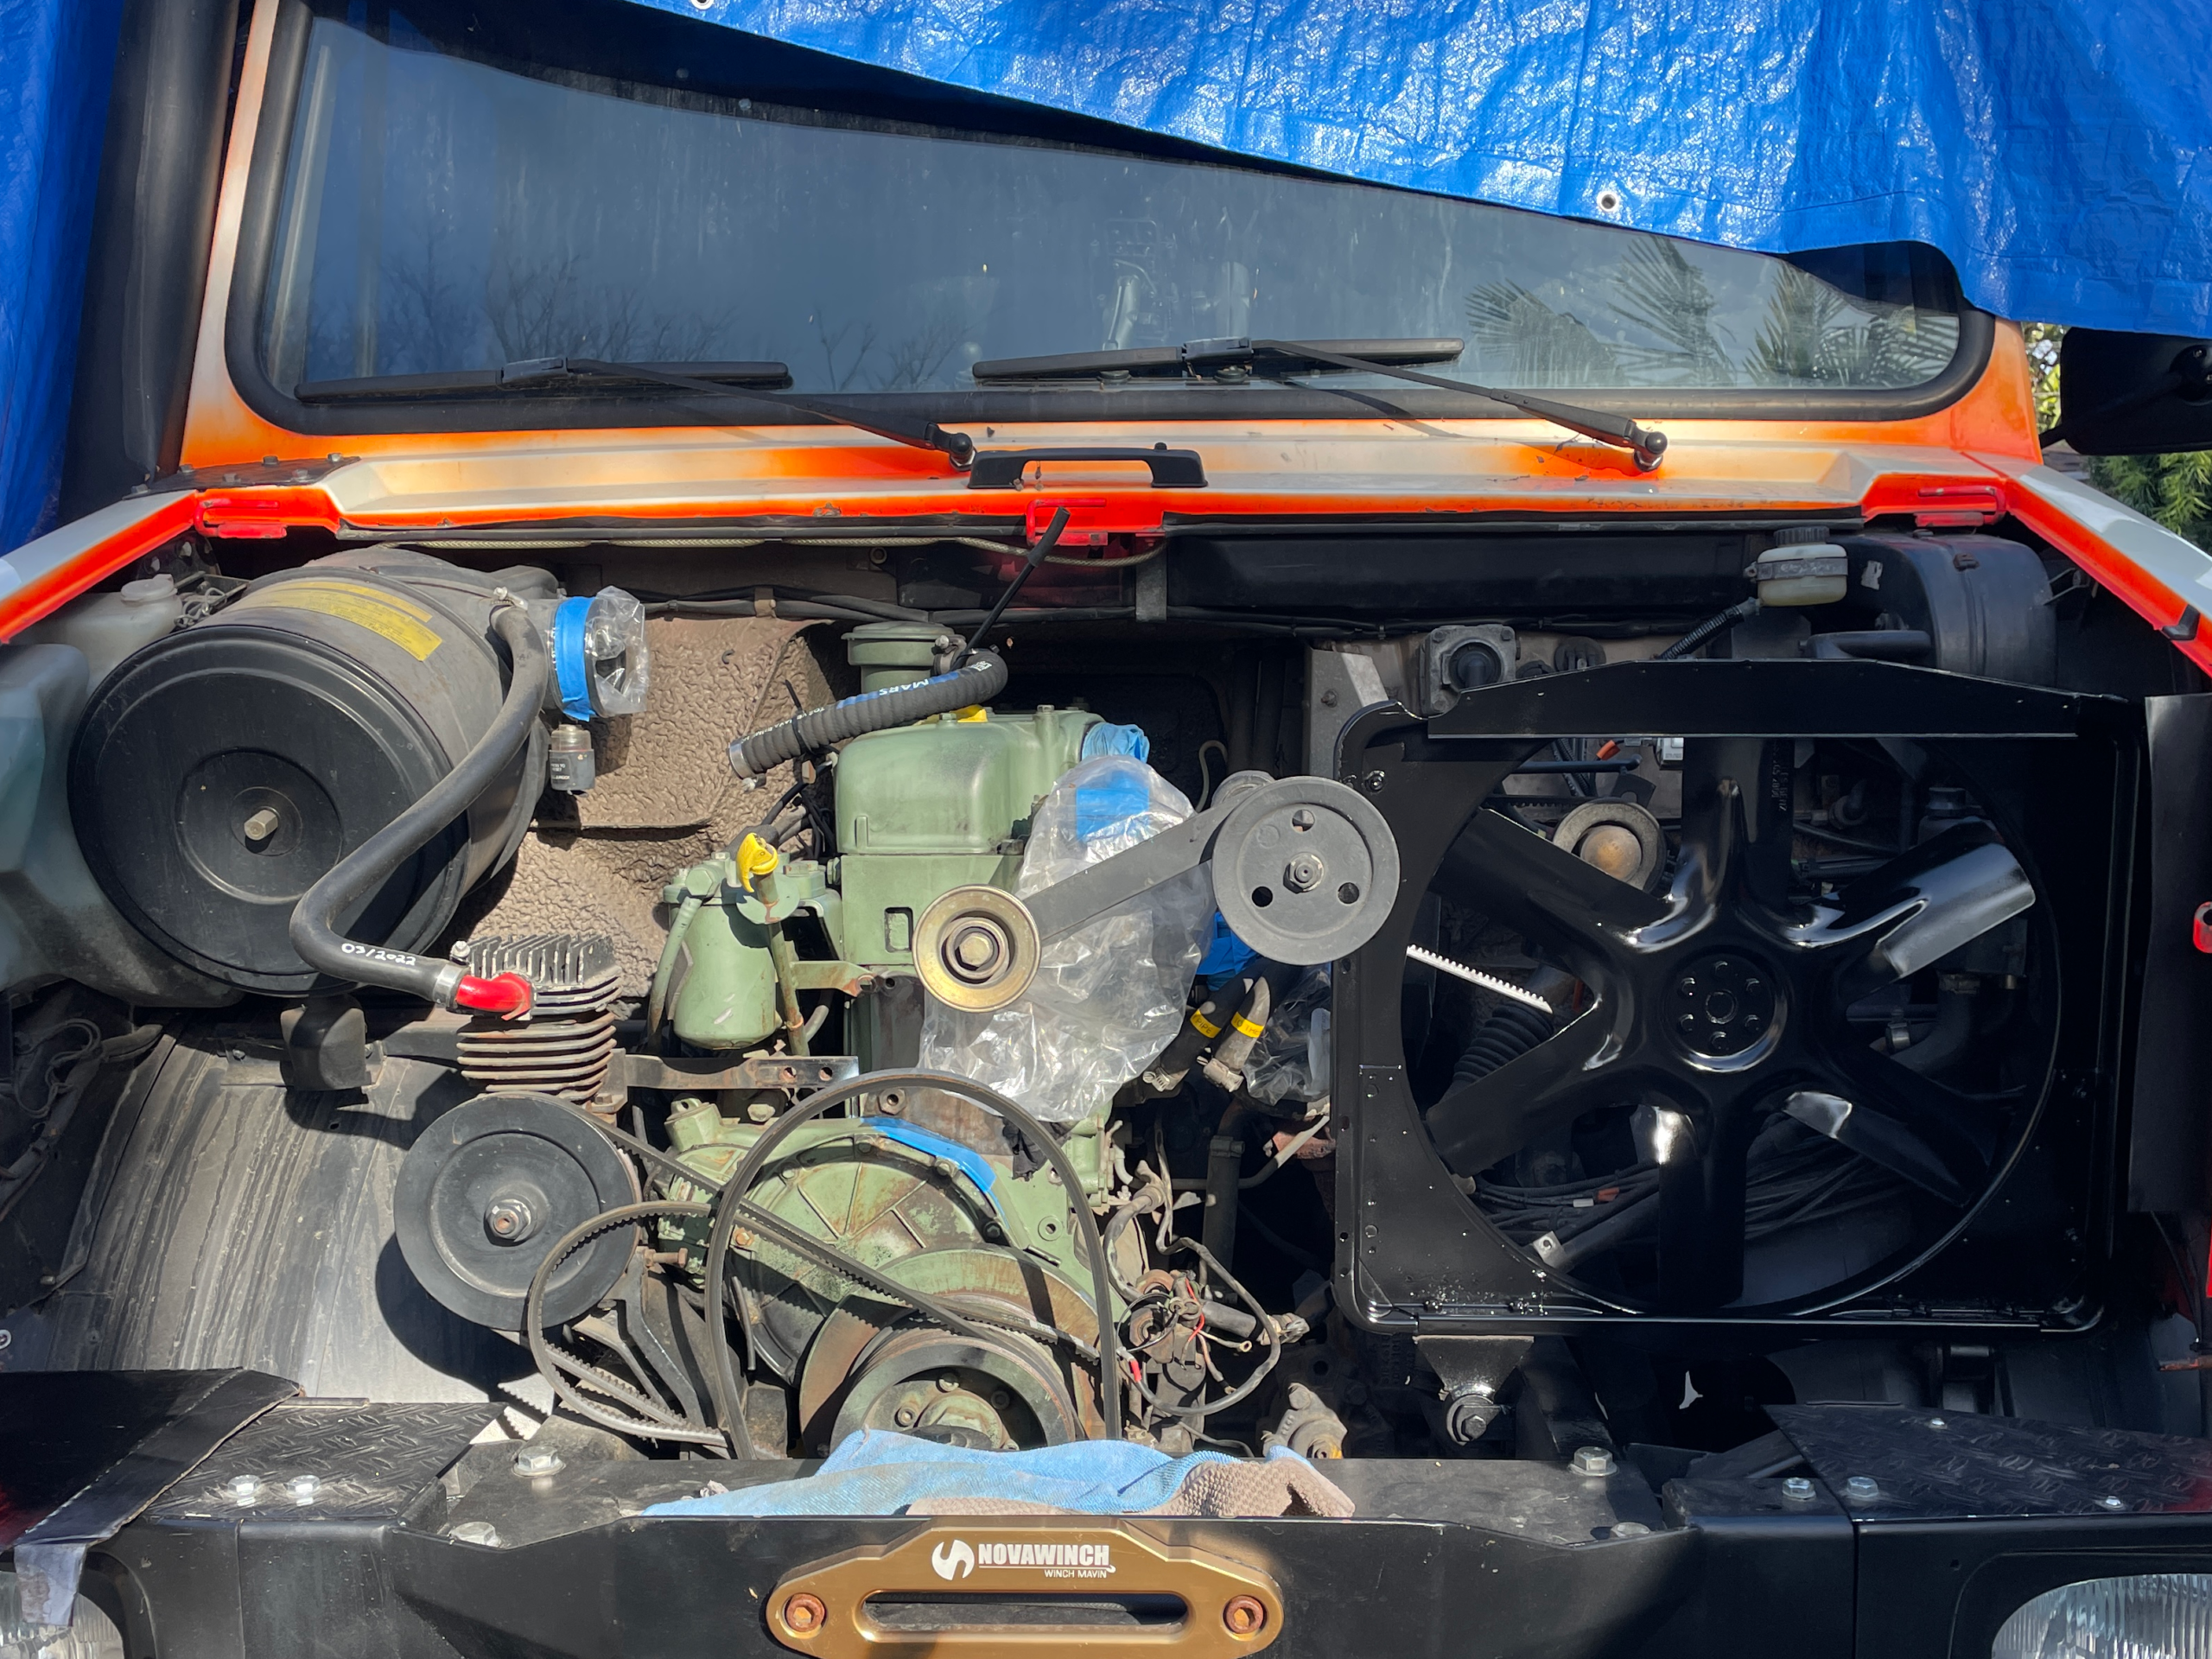
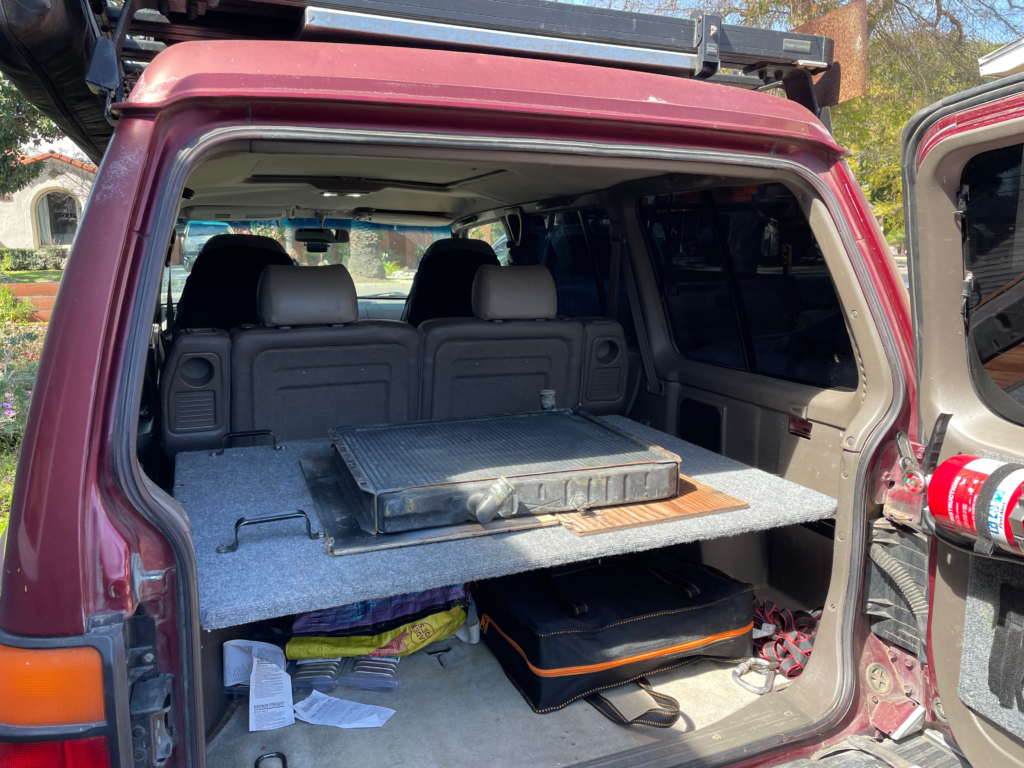
While inspecting the radiator, I could see some spots of slight corrosion where there was some sort of leak. I had also seen a really good video of Iain from Australia doing a radiator flush, which looked like a fantastic idea. I took it to a local big truck radiator shop and the guy there told me it was more dangerous to flush it. Flushing could dislodge material and cause more leaks that couldn’t be fixed. Since it wasn’t leaking now I should keep running it until I had an issue.
Turbo hoses
I used this opportunity to address my turbo issue. What was the issue? I am glad you asked. I had oil coming out of the little fat wide hose that connects the top of the turbo pipe to the engine header. I was actually always concerned that my header or head could possibly be leaking. But after taking everything apart and cleaning, it was obviously coming from that hose end. So, I installed a new silicone hose there.
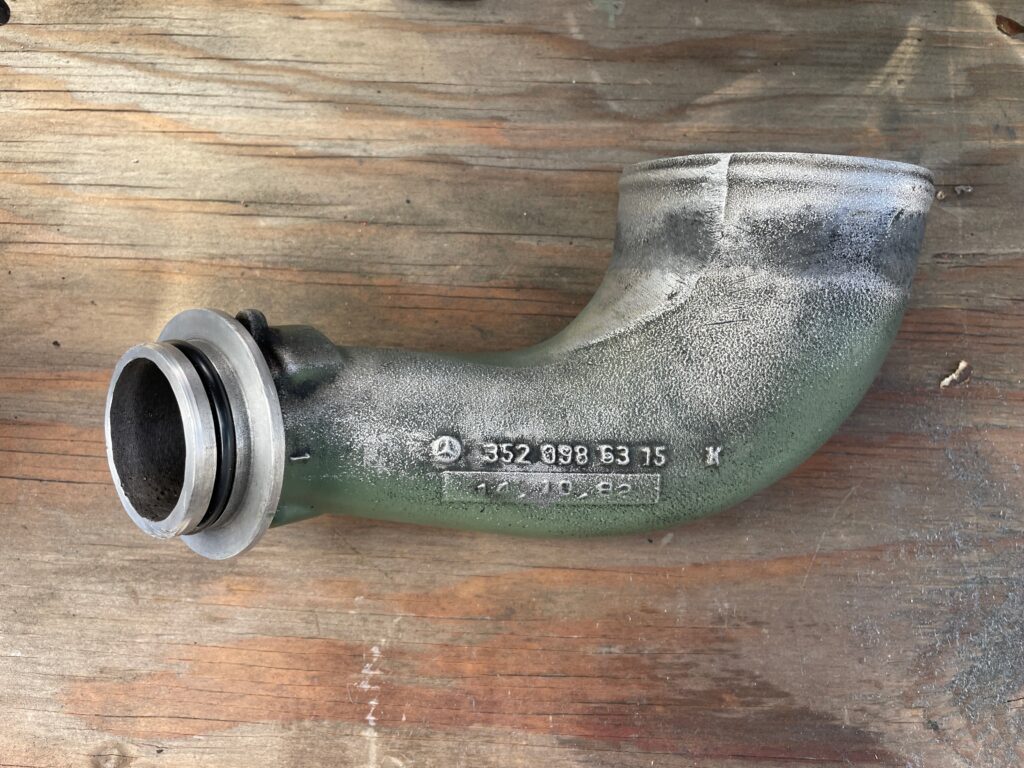
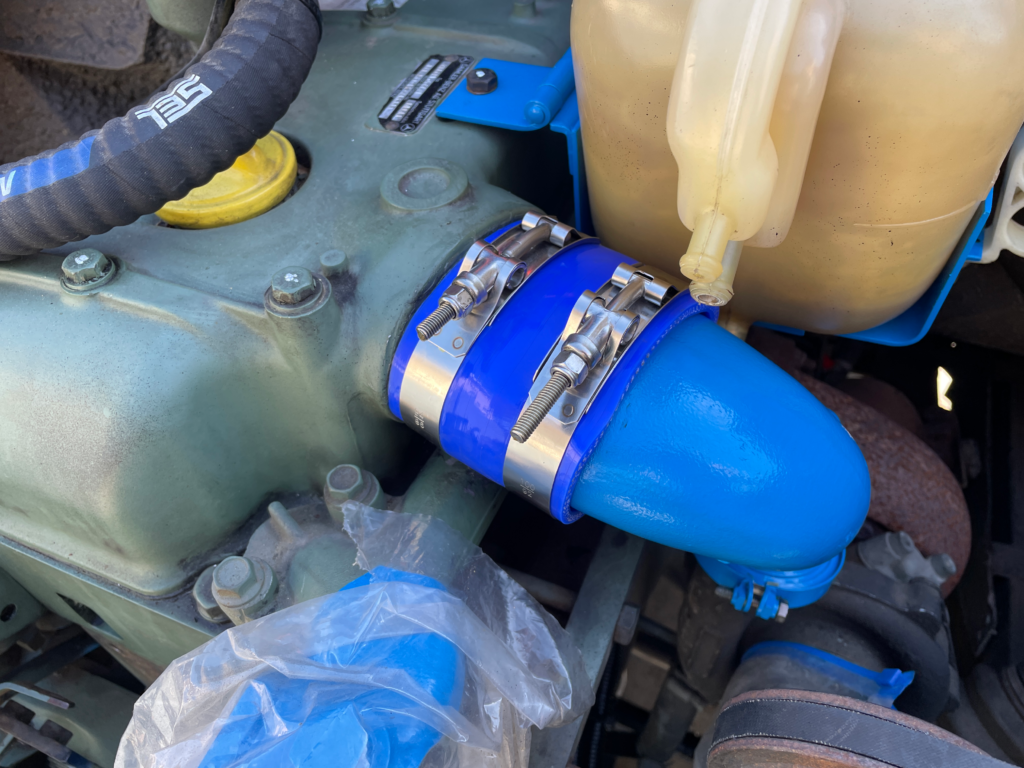
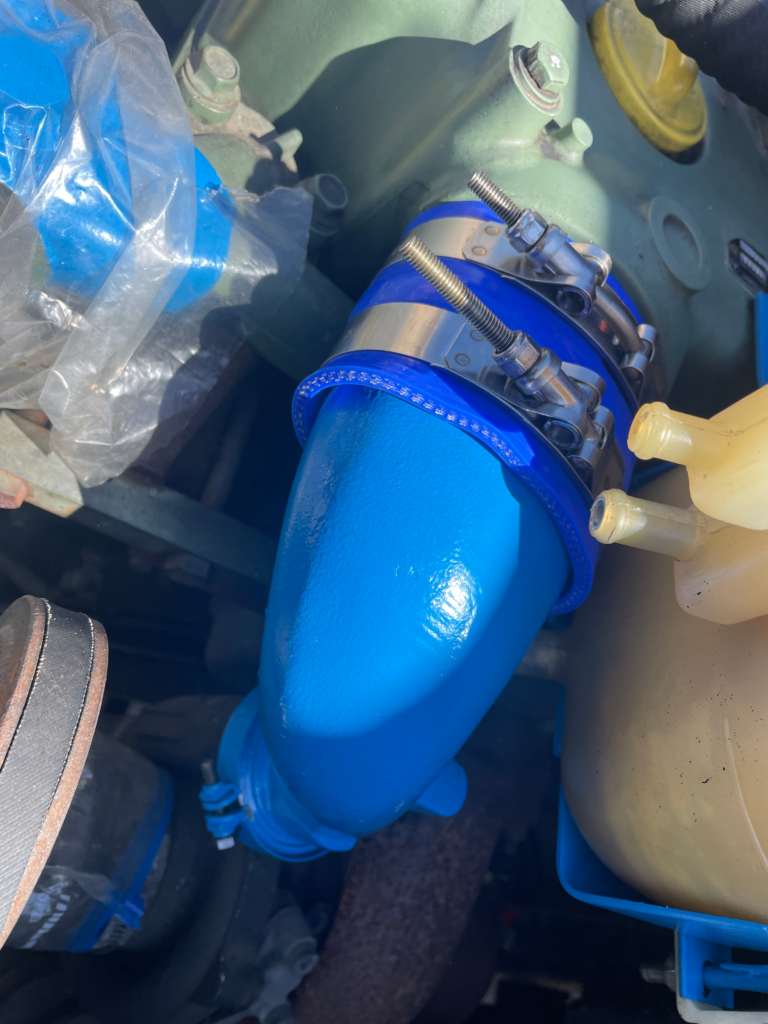
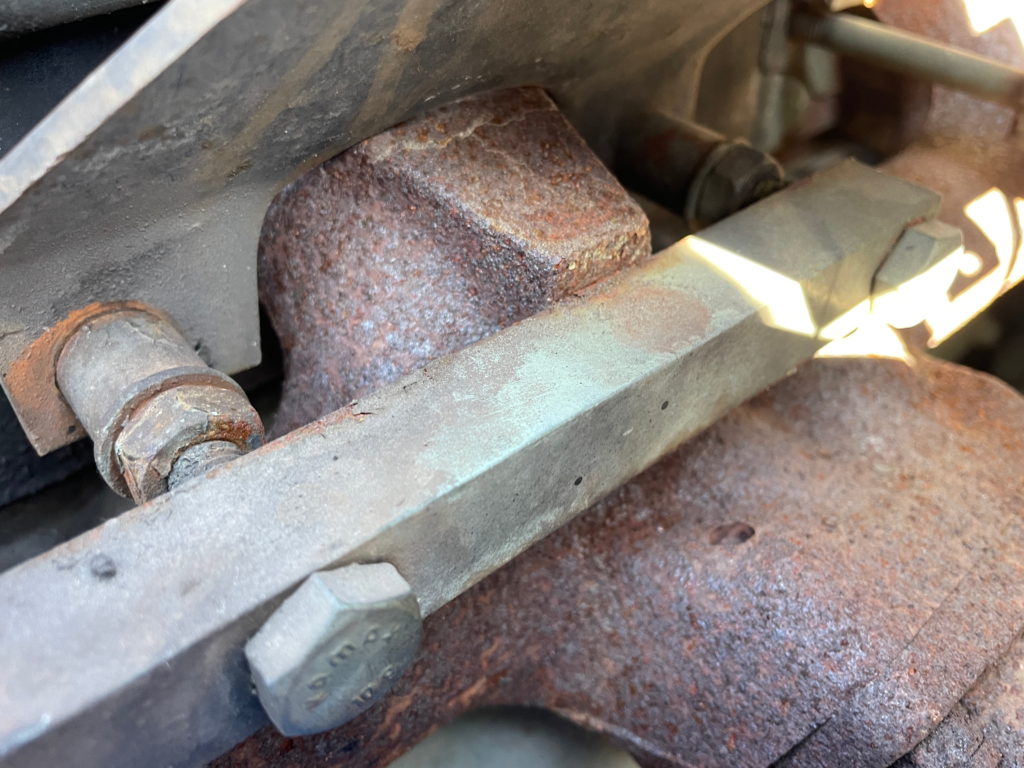
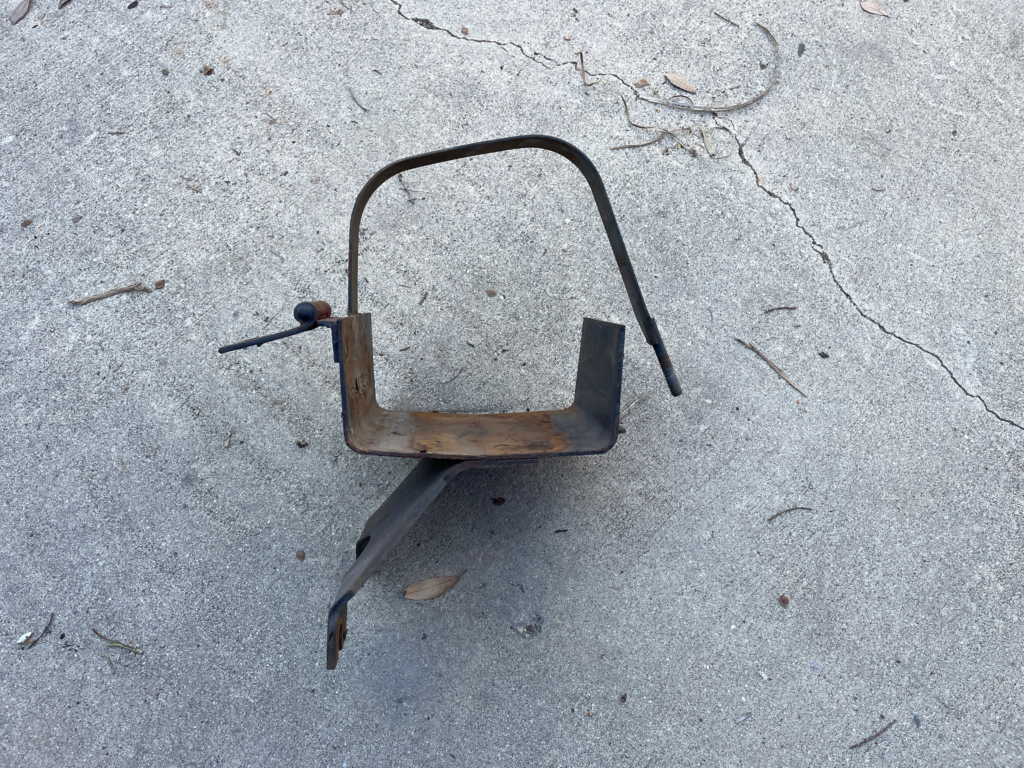
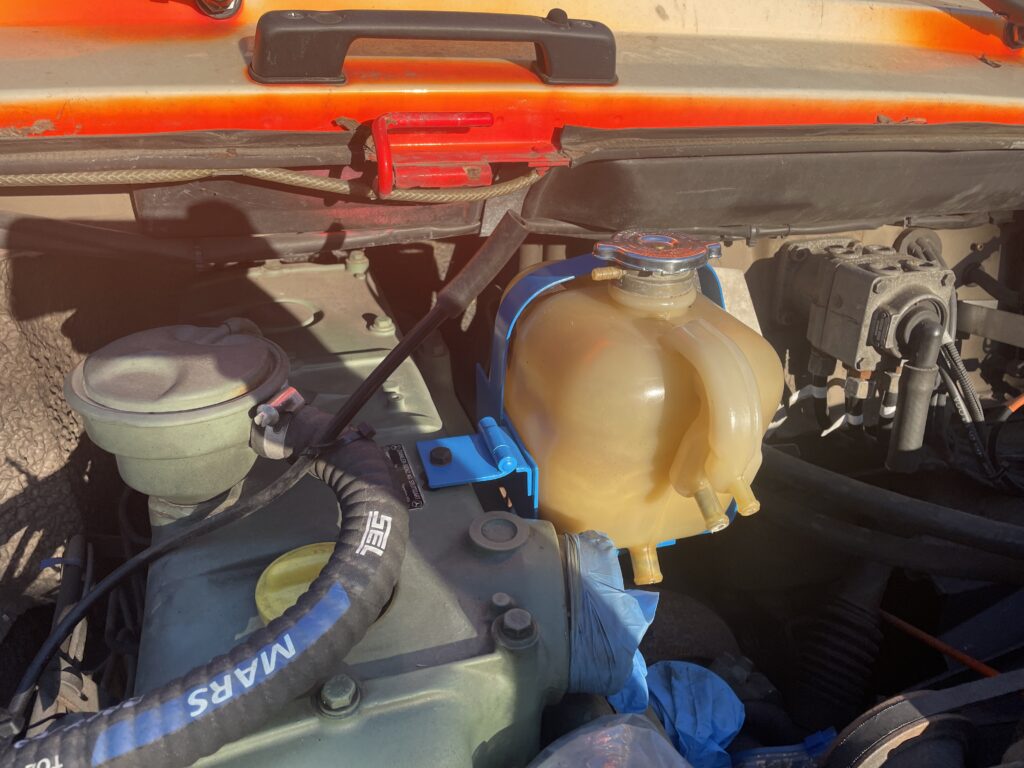
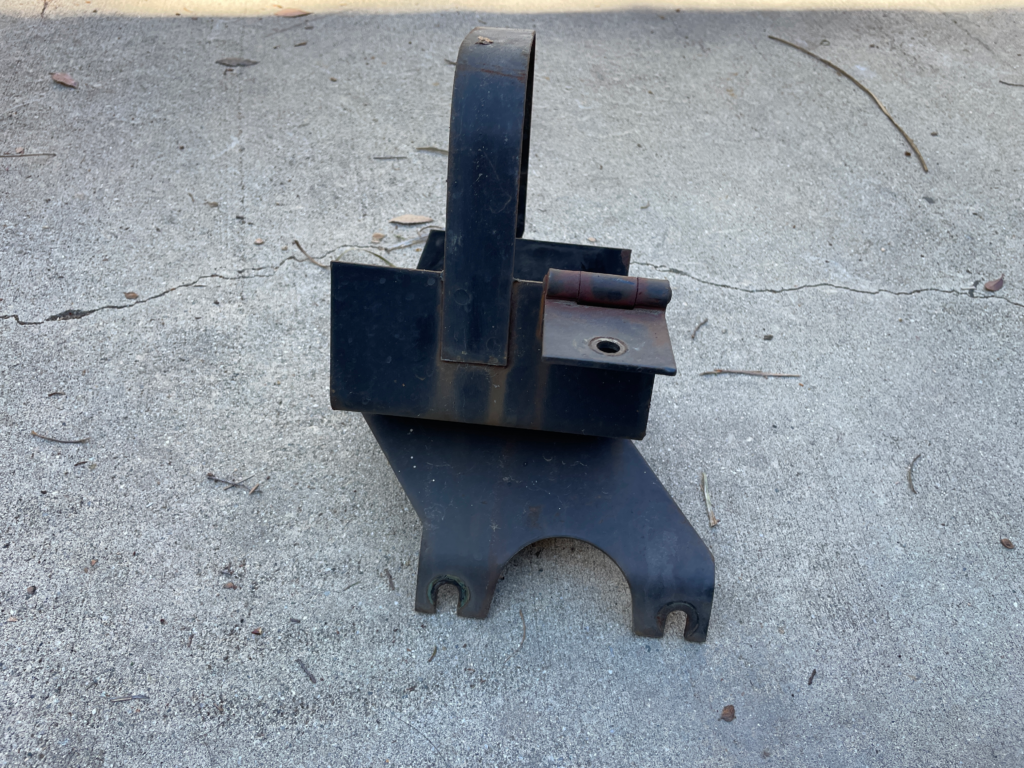
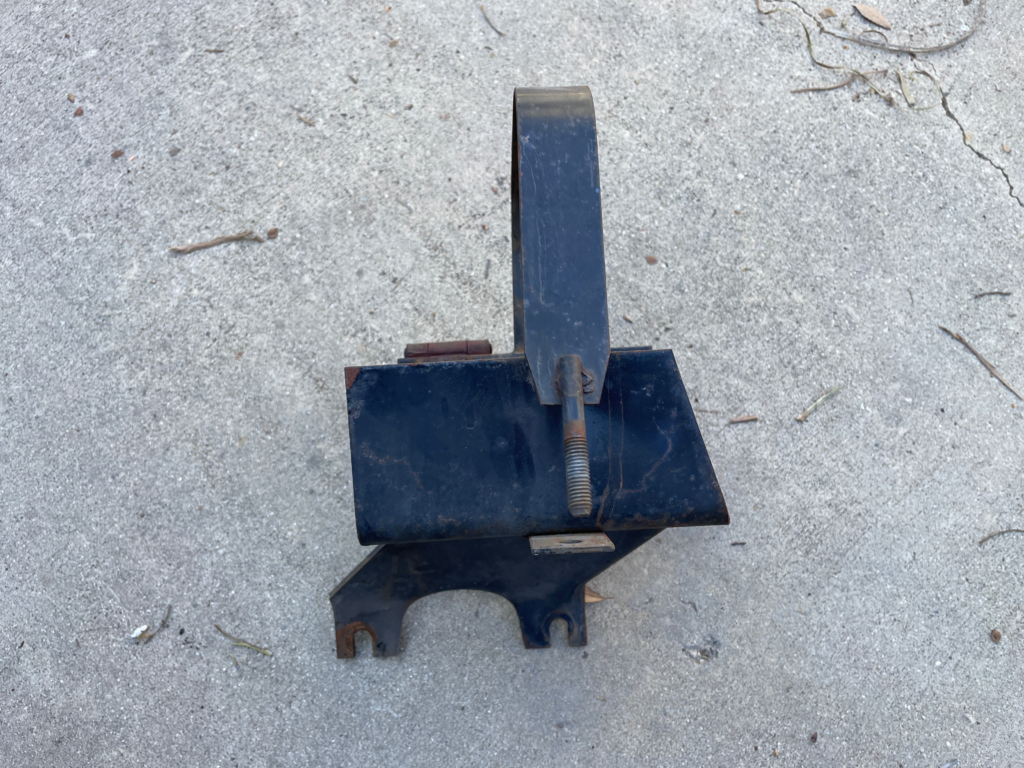
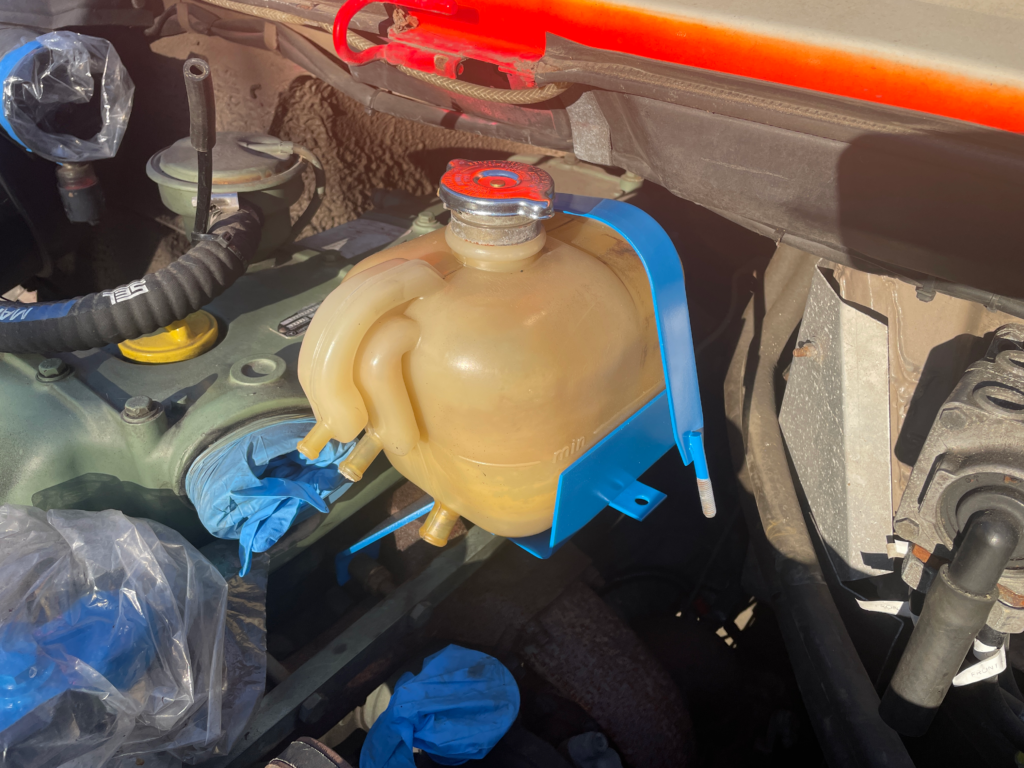
Coolant reservoir
I took a lot of photos of this because I had such a hard time figuring out how to get it off. In the end it was easy, you just have to know how it is attached.
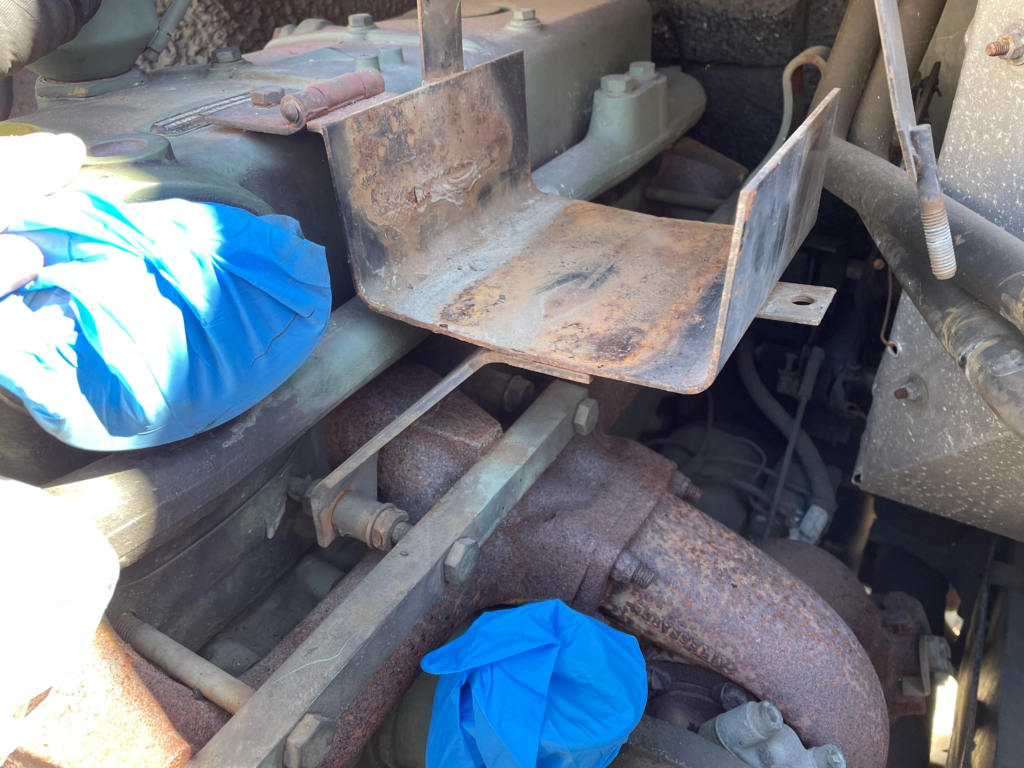
Parts list – Coolant system
| Part | Part # | Cost | QTY | Link |
|---|---|---|---|---|
| Geba Water Pump – OM352 / U1300L | 353 200 57 01 | $403.90 | 1 | Expedition Imports |
| Mercedes-Benz Gasket – Pipe Socket To Water Pump | 366 201 03 80 | $10.20 | 1 | Expedition Imports |
| Mercedes-Benz Gasket – Thermostat Housing to Waterpump | 352 203 23 80 BA | $2.40 | 1 | Expedition Imports |
| Mercedes-Benz Thermostat Gasket | 352 203 20 80 | $3.00 | 1 | Expedition Imports |
| Mahle Thermostat – 83 Degree | 005 203 26 75 | $38.20 | 1 | Expedition Imports |
| Gasket that goes on each side of the thing that connects to the thermostat housing | 352 203 26 80BA | 2 | Expedition Imports | |
| Mercedes-Benz Radiator to Water Pump – small reducer hose | A 406 987 57 43 | $38.00 | 1 | Expedition Imports |
| Mercedes-Benz Hose – Lower – Radiator to Water Pump – single bend | A 425 501 00 56 | $66.80 | 1 | Expedition Imports |
| Mercedes-Benz Hose – Upper – Radiator | A 425 987 04 43 | $103.60 | 1 | Expedition Imports |
| Hose – Reservoir to thermostat – 10mm to 6mm | A 406 997 68 82 | $19.88 | 1 | Ebay |
| Hose – Reservoir to radiator – the bent one | Couldn’t find | 1 | Couldn’t find | |
| FEBI Radiator Cap For MERCEDES LP Unimog 62-90 0005012815 | A 000 501 57 15 | $22.80 | 1 | Ebay |
Parts list – Turbo
| Part | Description | Part # | Cost | QTY | |
|---|---|---|---|---|---|
| Hose – Silicone Reducer, 3.5″ to 3.25″ – Blue | Hose that connects turbo pipe to cyclinder head cover | SIL000526 | $13.99 | 1 | siliconeintakes.com |
| T-Bolt Clamp for 3.5″ Silicone Parts | Clamp for Hose that connects turbo pipe to cyclinder head cover | CLA000105 | $2.99 | 1 | siliconeintakes.com |
| T-Bolt Clamp for 3.25″ Silicone Parts | Clamp for Hose that connects turbo pipe to cyclinder head cover | CLA000108 | $2.99 | 1 | siliconeintakes.com |
Tools and Lubes
Rust-Oleum 363573 Engine Enamel Spray Paint, 11 oz, Flat Gray Primer
Rust-Oleum 366431 Engine Enamel Spray Paint, 11 oz, Gloss Light Blue
Rust-Oleum 285092 Stops Rust Spray Paint, 12 Oz, Satin Clear
Rust-Oleum 7777830 Stops Rust Spray Paint, 12 oz, Satin Black